Bell Curve for Trigger Techniques

Most shooters and firearms instructors agree that for good shooting, trigger control is the heart of the beast — the most important factor. There are several elements to this. Finger placement on the face of the trigger has been discussed here before; now we’ll talk about how to bring that trigger straight back to the rear without disturbing aim to break a perfect shot.
I respectfully submit that there is a bell curve of trigger manipulation methods, from coarse to precise and from fast to slow. Some instructors will tell you that only one spot on that bell curve is the secret, but the fact is that different circumstances — the size and distance of the target, the speed demanded in the moment — may make one or another point on that bell curve optimal.
Picturing the Bell Curve
First, in case anyone reading this is new to the semi-automatic pistol, let’s establish a baseline. The trigger at rest is in its most forward position when the gun is loaded, chambered, and ready to be fired. Obviously, all the way to the rear is the point at which the pistol fires. The finger holding the trigger back is still there as the slide cycles, ejecting the spent casing from the last shot and chambering a fresh cartridge to the next. It happens so fast the finger hasn’t had time to come off the trigger yet, and the trigger still being all the way back has activated the internal disconnector to keep the pistol from going full automatic.
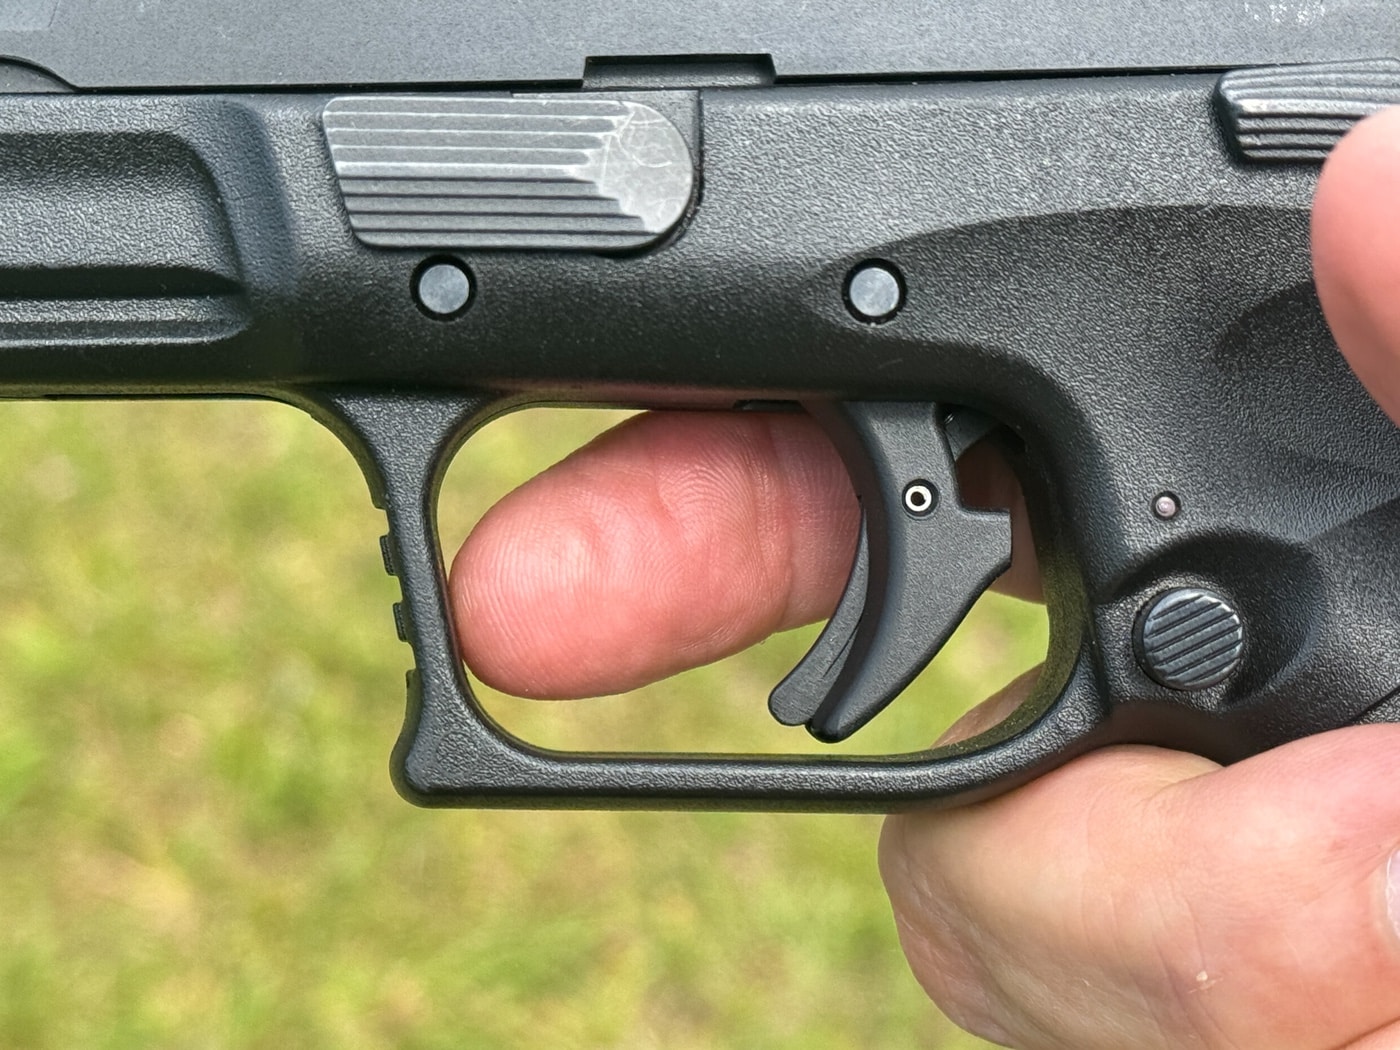
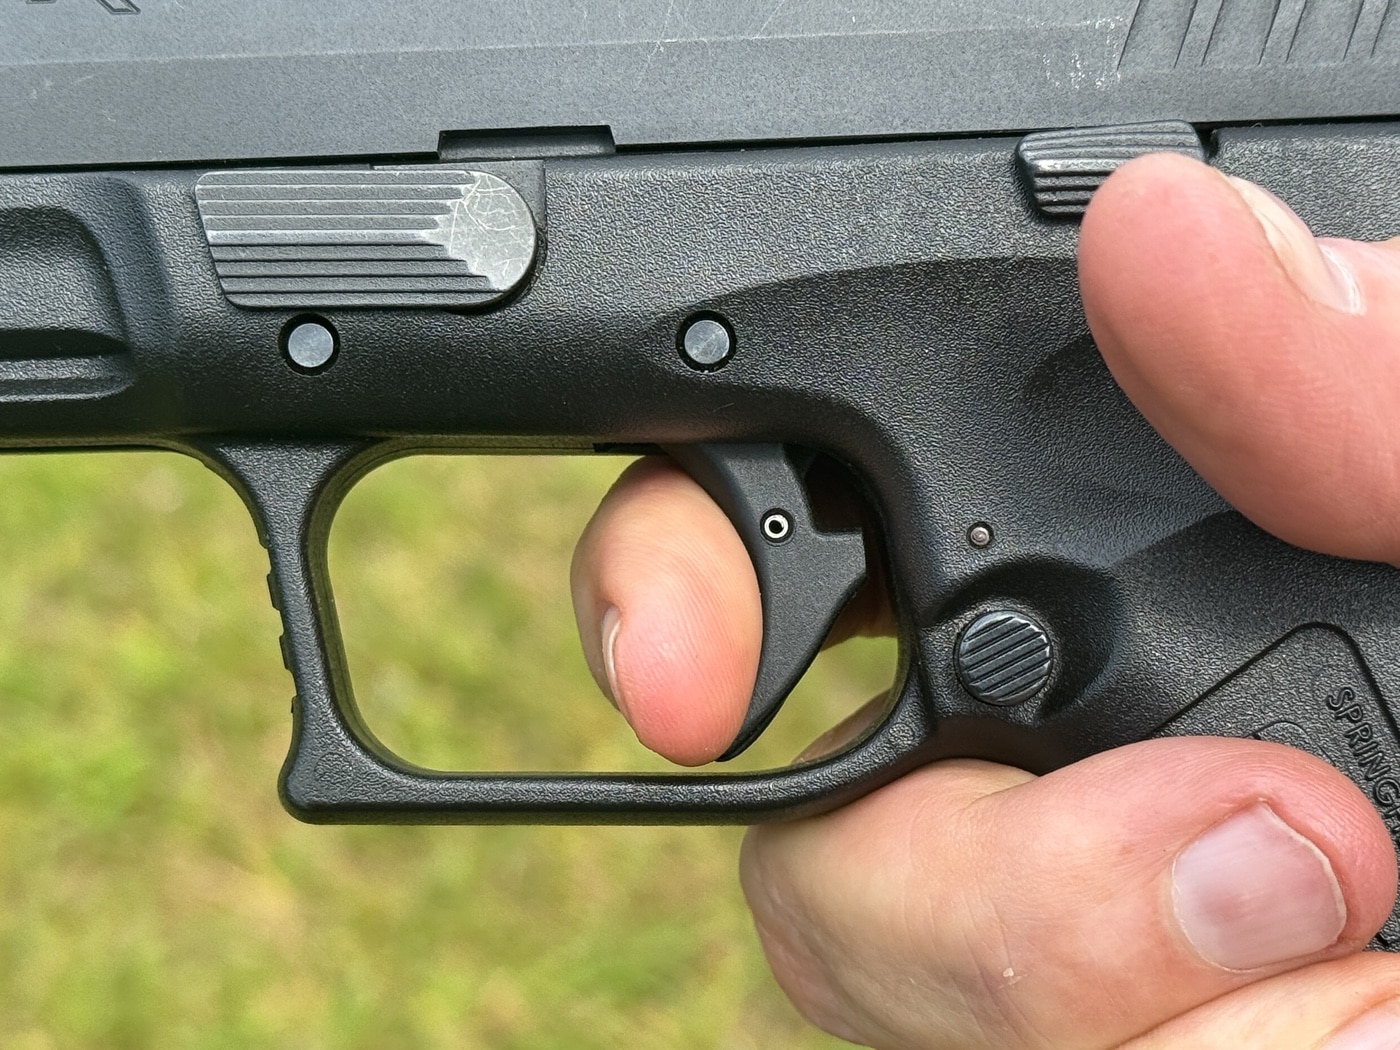
Now the trigger has to come forward to reset. On most semi-auto pistols, the trigger does not have to come all the way forward to the “at rest” position to be ready for the next shot: partway through that forward trigger return, the shooter will feel (and may even hear) a “click.” That’s as far forward as the trigger has to move: the gun is already ready to fire again at that point. This gives the shooter three points on the bell curve from which to break the next shot.
The Three Points on the Bell Curve
If the trigger is allowed to come all the way forward to the point where the trigger not only comes all the way back forward but the trigger finger comes completely off the face of the trigger, we can have trigger slap, the coarsest point of the bell curve.
If the trigger finger comes forward just enough to feel that “tick” of the reset, we have what is known variously as riding the sear, catching the sear, riding the link, or catching the link, the most precise form of the bell curve.
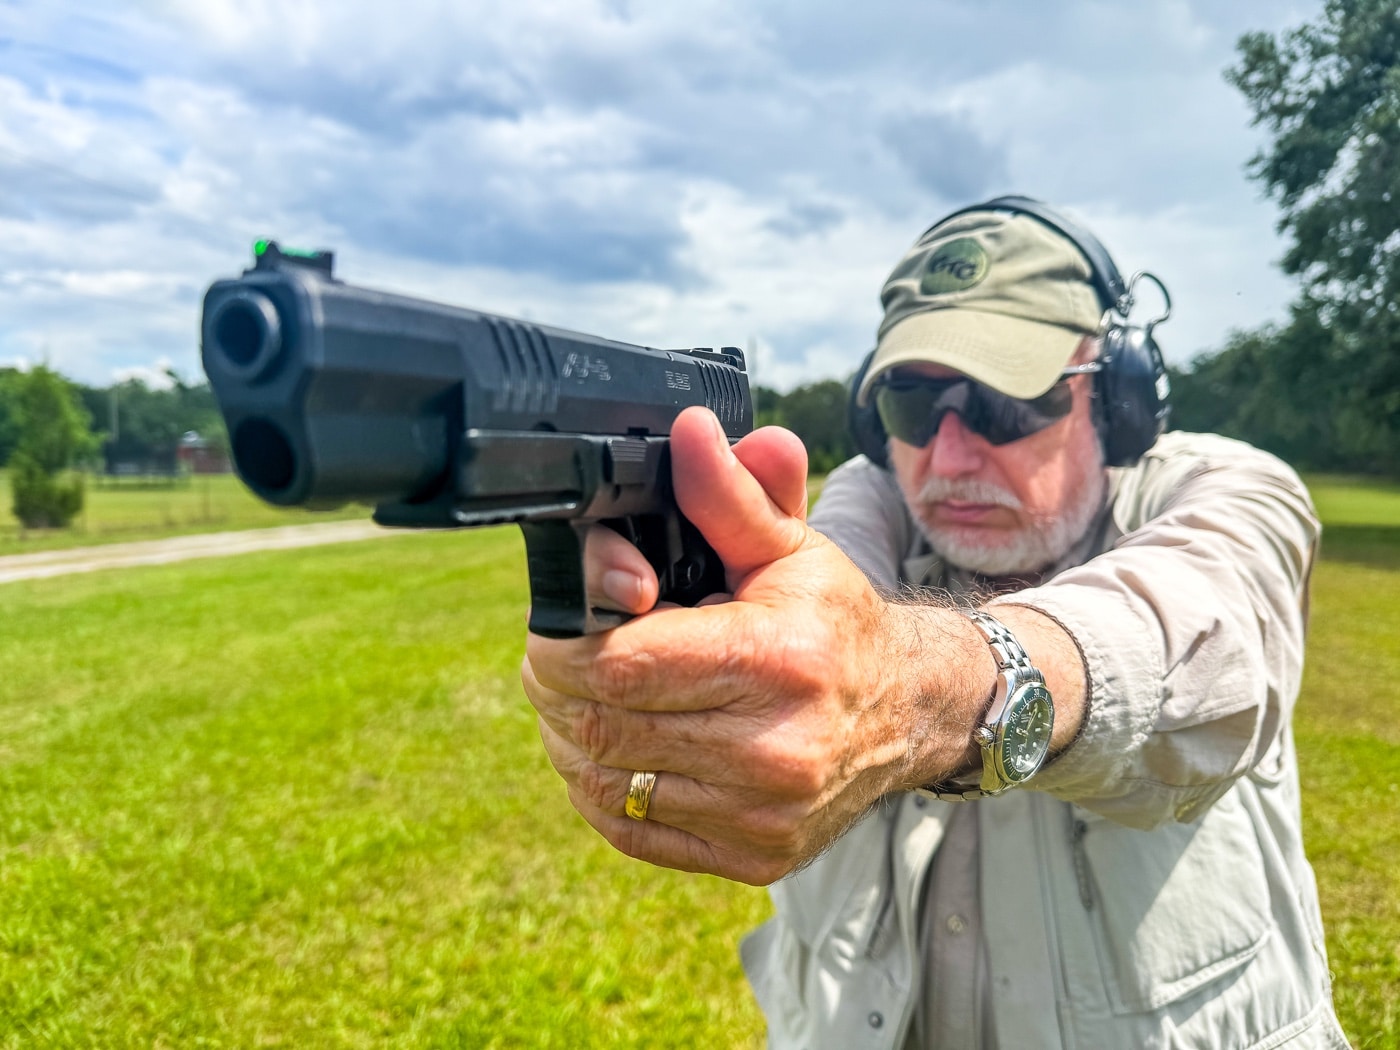
The center of the bell curve is when the finger allows the trigger to come all the way back forward until it stops, but maintains finger contact with the trigger, most commonly known as trigger weld.
Each method can have a place, depending on what shooter and pistol are called upon to do by the circumstances that have warranted firing the gun in the first place. Let’s start with riding the link.
Riding the Sear
Serious shooters figured out this technique in the second decade of the 2th century, when semi-automatic pistols such as the 1911 began to replace revolvers for both target shooting and “serious business.” In the beginning, it was restricted to target competition, which at the time was done one-handed on significantly distant targets in very forgiving time frames.
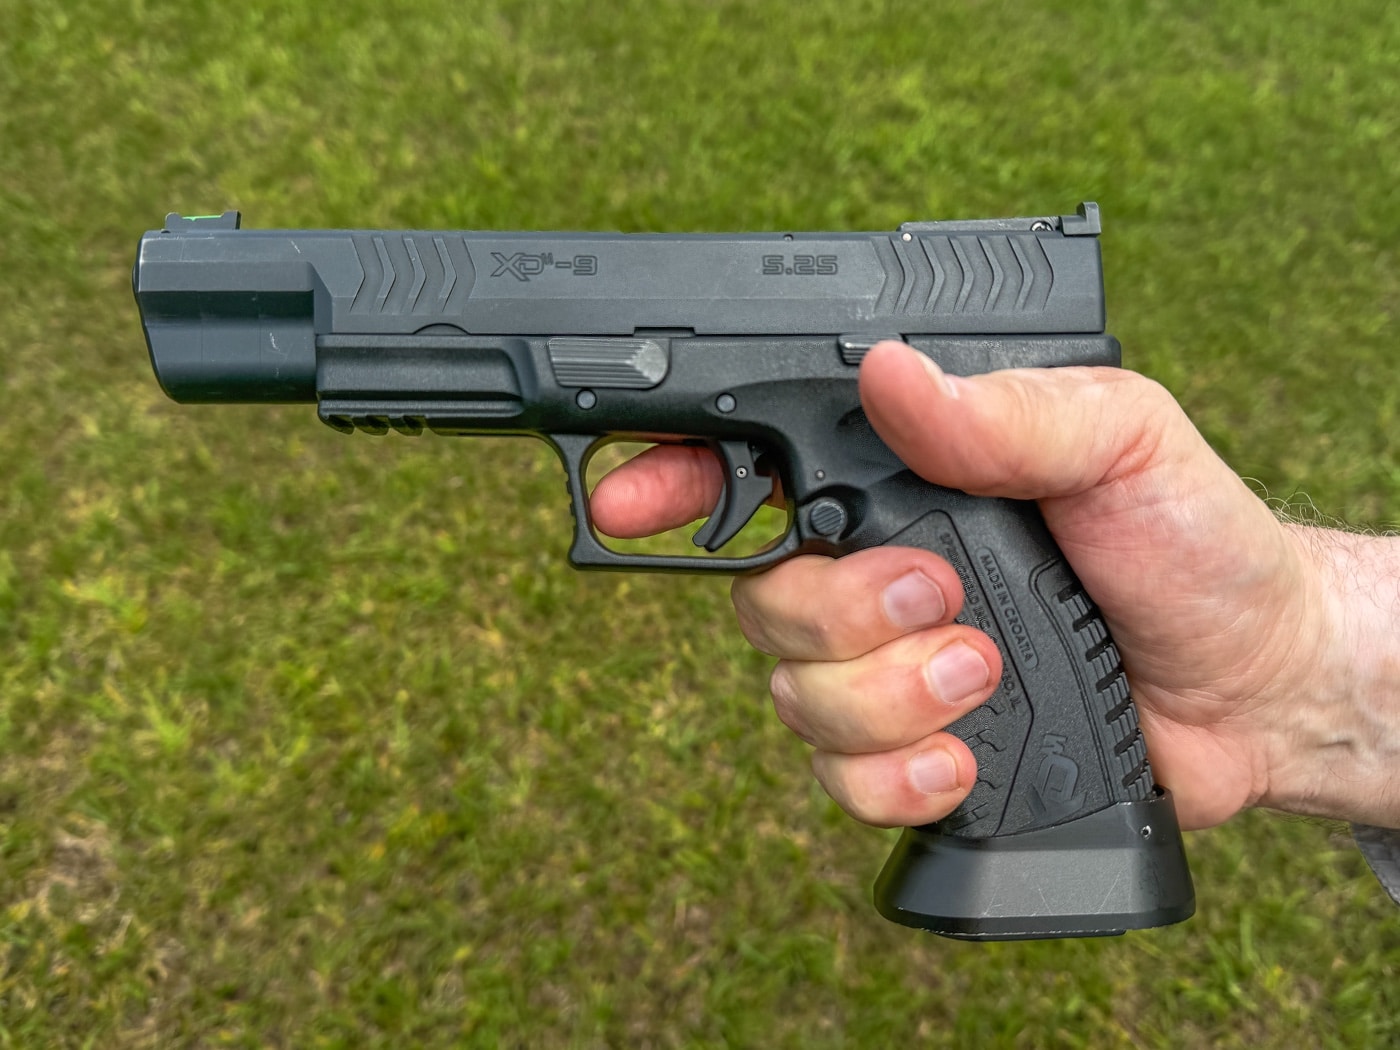
In the 1970s when Colonel Jeff Cooper and shortly thereafter his contemporary Ray Chapman opened defensive shooting schools for ordinary law-abiding citizens for the first time in modern history, most “how to shoot” lore had come from target shooting. There were still even police departments qualifying in one-handed bullseye shooting. Riding the link started to find its way into police training as well, since this was the decade when the sea change from traditional police service revolvers to semi-automatic duty pistols was beginning to take place. Some instructors, unaware of how long this trigger-pulling technique existed, taught it for defensive shooting so emphatically one would have thought that it was the secret weapon that would win World War III.
However, like anything else, it had its drawbacks. I was shooting action pistol, IPSC and the Bianchi Cup format, during the latter ‘70s and I saw even supremely skilled champions shooting under pressure in major matches “stutter” in strings of extremely rapid fire. That is, what should have been “bangbanbangbangbang” turned into “bangbang (pause) bangbang.” What had happened was, attempting to ride the link had not allowed it the trigger to return all the way forward to firing position.
There are a couple of physiological reasons to explain why. First, under stress, we become stronger due to adrenaline dump, and the finger’s flexor muscles that pull back are stronger than its extensor muscles that allow the trigger to return. Second, we may no longer be able to feel (and with the gunfire, probably won’t be able to hear) that tiny “tick” of the reset.
One thing that stress triggers is vasoconstriction, in which the body redirects blood flow away from extremities such as the fingers to the internal organs to “fuel the furnace” for extreme exertion. It’s the reason you see people turn deathly pale, and why after a particularly challenging moment with a gun in your hand, whether on the range or on the street, you may feel your heart pounding and realize you’re breathing hard.
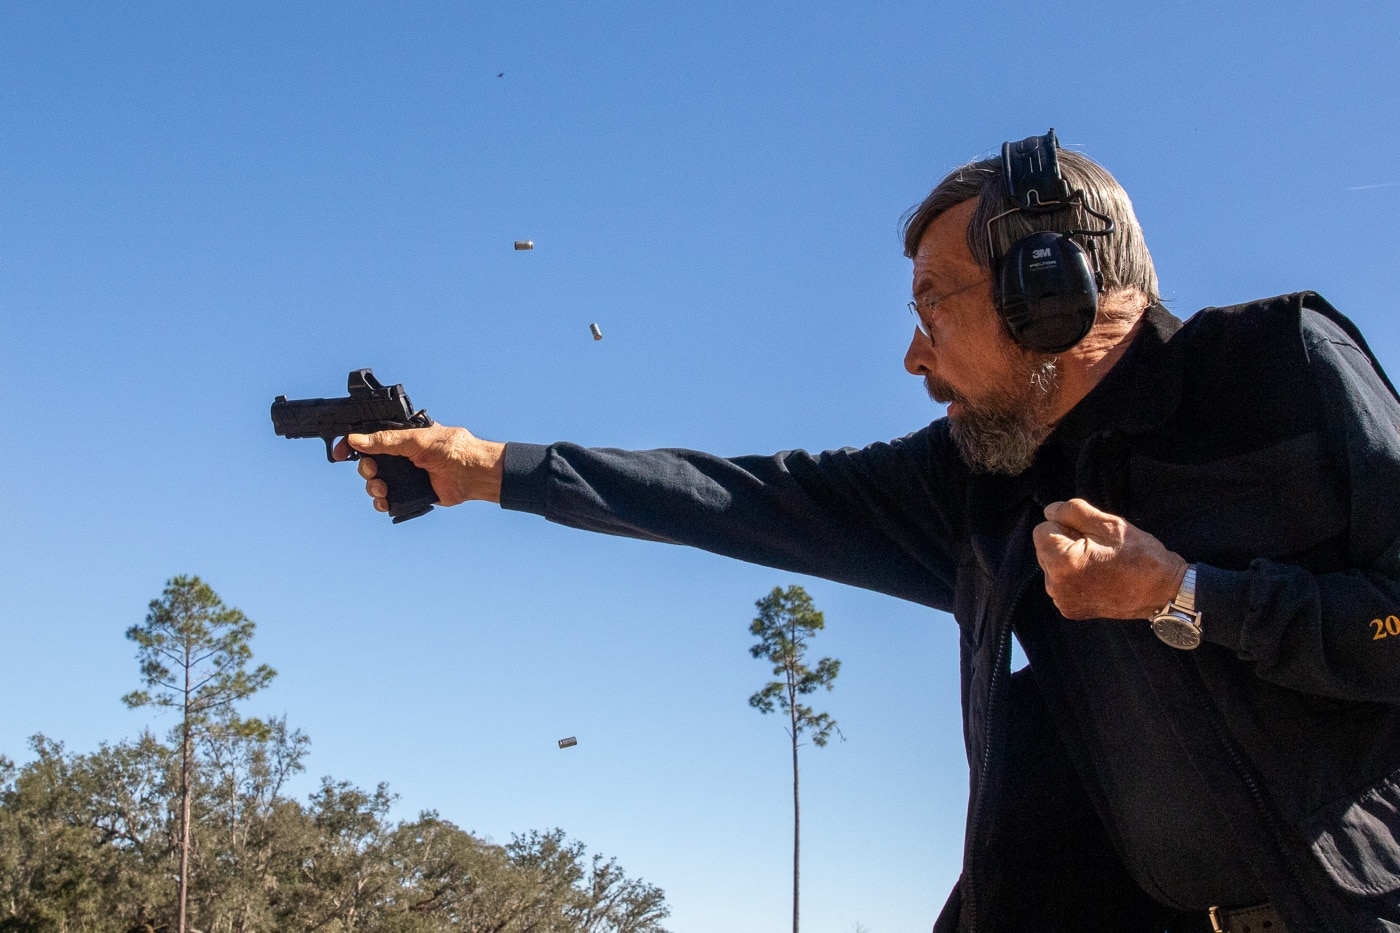
There have been documented cases where Good Guys in shootouts have pulled their trigger again, not realized they hadn’t reset, assumed they had jammed, and stopped returning fire to rack their slide. Not good. This is why many police academies and some private schools including my own stopped recommending riding the link for defensive shooting.
Controlled Trigger Slap
On the coarse end of the bell curve, there is what world champions Rob Leatham (who shoots for Springfield Armory) and Todd Jarrett called controlled trigger slap. We need to understand that “trigger slap” by itself is not a good thing, but an error generally associated with amateur shooters who don’t perform very well. The amateur fires the gun. There’s a loud bang and some recoil. The shooter silently goes “Eek” and their finger jumps off the trigger, occasionally bouncing off the inside front of the trigger guard or out of the guard entirely. Now, when it’s time for the next shot the finger comes back with impact and jerks the shot off target.
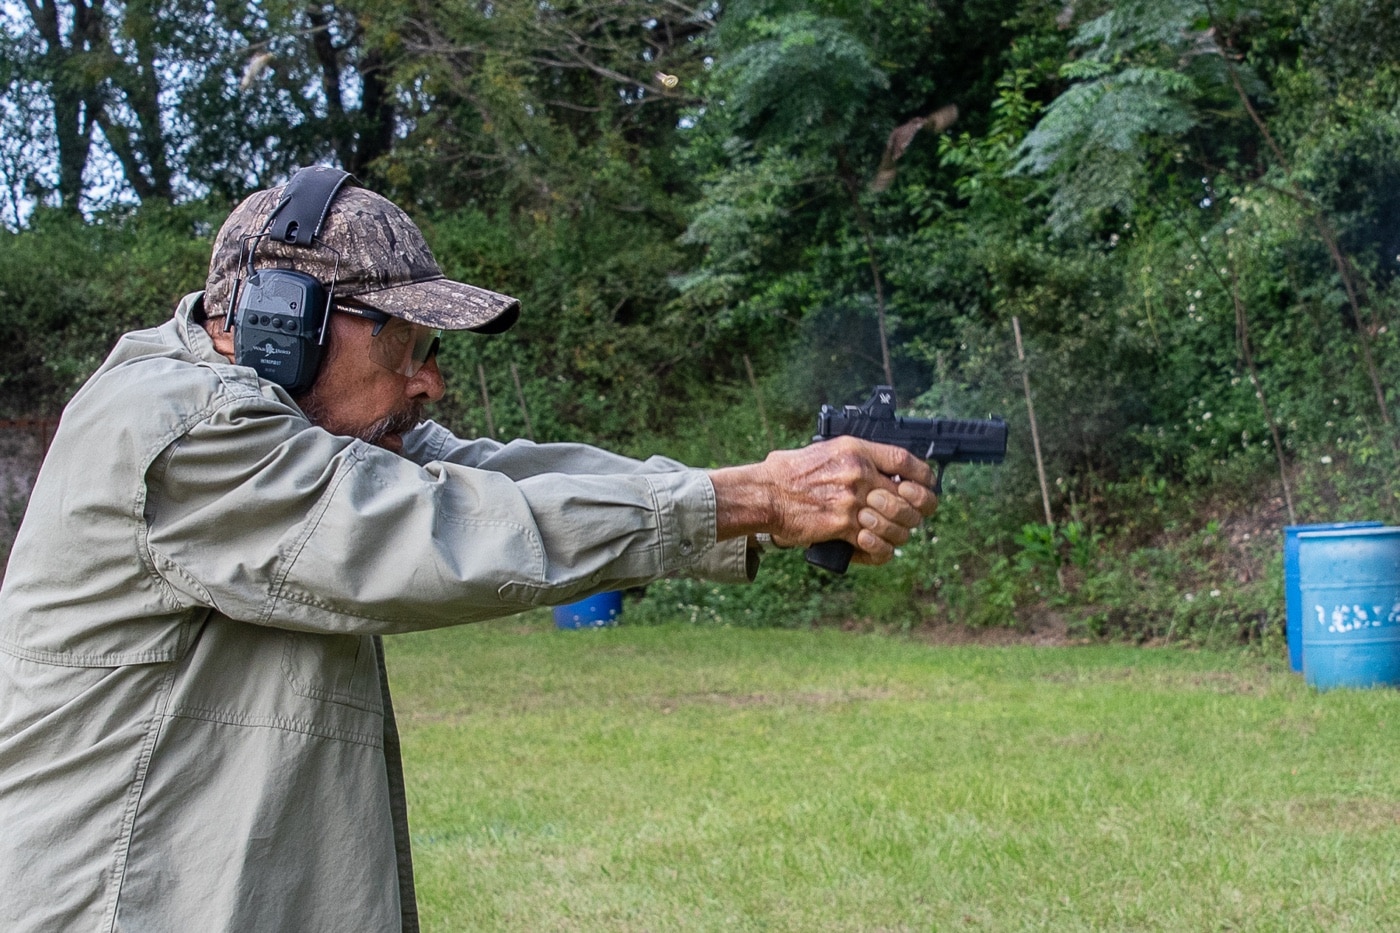
The controlled trigger slap of Leatham, Jarrett, and others is done only in close at large targets, usually with target pistols with super-light triggers and in company with a very hard grip on the pistol. However, it can also be done with service pistols successfully when the need is “close and fast.”
Simon Golub, a champion shooter recently retired from FBI and now teaching in private sector, calls it “crashing the trigger” and explained it this way to me: “I consider crashing the trigger to mean pulling it (hitting it even) as fast as possible. Other terms I have used over the years are smashing the trigger, slapping the trigger (more for single actions), jerking the trigger.
“The main idea is that there is no consideration given to finesse, as pure speed is what is needed for the given problem. My grip is what allows me to do this and get the hits I need. I only use this technique for close-range targets that I don’t believe I can possibly miss on. I am not generally willing to sacrifice accuracy for speed, and I think that extreme accuracy can be even more important up close when the threat is more likely to damage you if not stopped immediately.”
And, At the Center of the Bell Curve…
Trigger Weld
Trigger weld, I respectfully submit, is the ideal middle ground for defensive shooting. The trigger is allowed to come all the way forward until it stops, but the trigger finger maintains contact. The impact of trigger slap is eliminated, so you’re no longer limited to close, big targets and no longer jerking the muzzle off target. Yet you have guaranteed full trigger reset, guaranteed you’ll have the next shot, and the next. The best of both worlds.
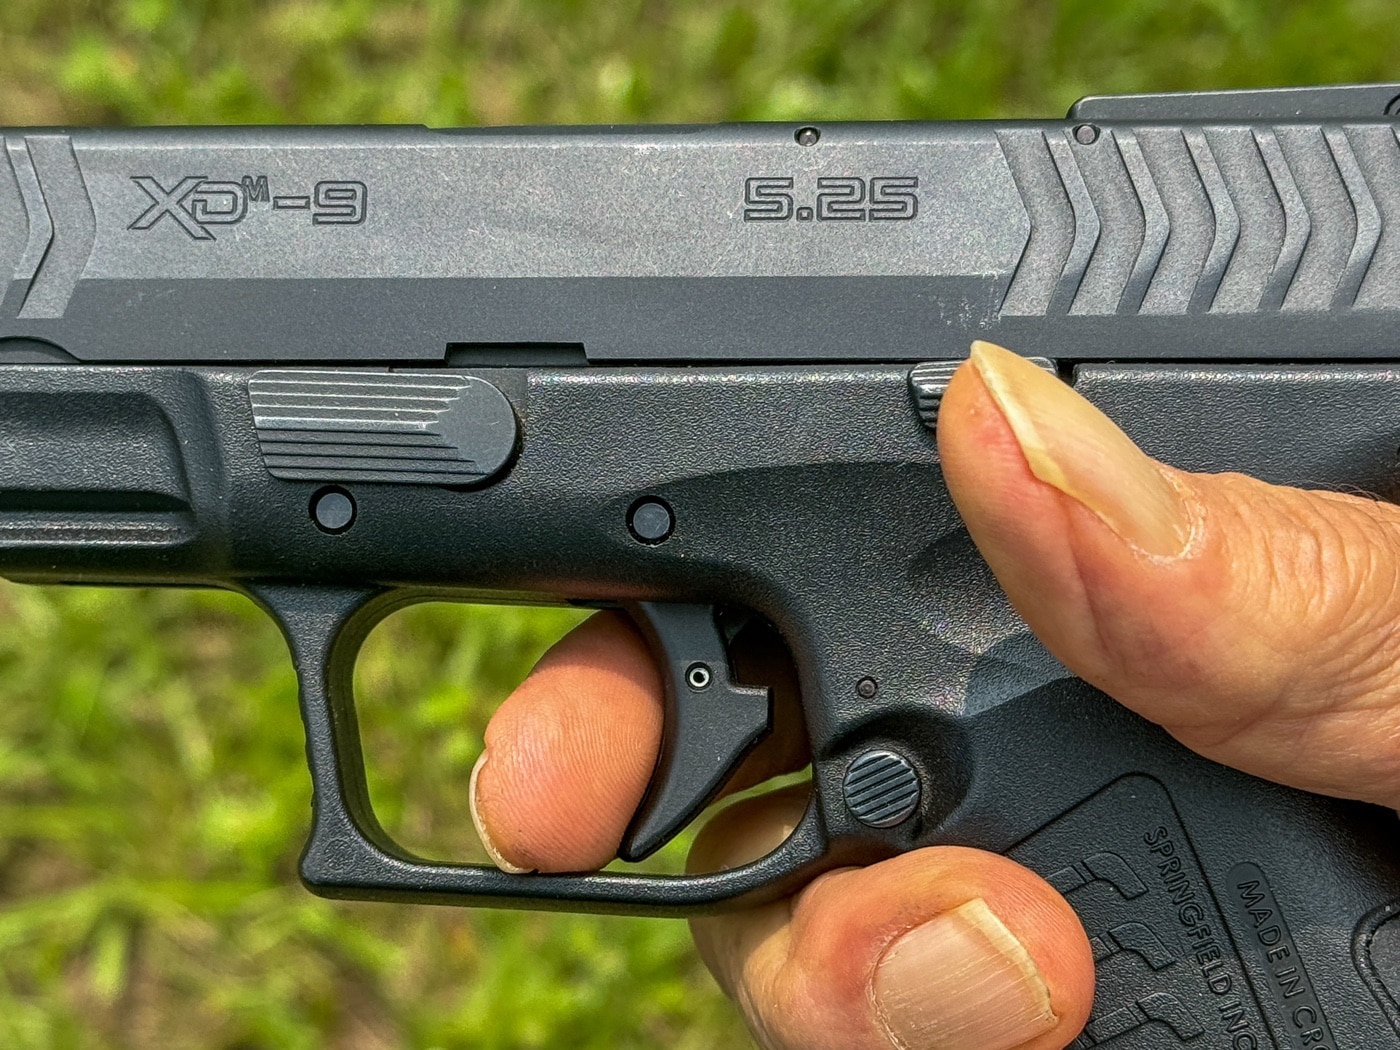
It is what I practice and teach primarily for self-defense shooting. In a match, with only a trophy or a title on the line, things are different. When I won trophies in bullseye, where slow fire was 10 shots in 10 minutes and rapid fire was five shots in 10 seconds, I “rode the link.” If tomorrow I’m attacked by someone with a machete at close range, I expect I’ll be using controlled trigger slap because the job is now five shots in one second, and different tasks require different techniques.
Conclusion
For me, each of these techniques has a place, but if I could have only one it would be in that sweet spot, the middle of the bell curve: trigger weld.
Your comments and shared experiences are of course, as always, invited in the forum comment section, linked below.
Editor’s Note: Please be sure to check out The Armory Life Forum, where you can comment about our daily articles, as well as just talk guns and gear. Click the “Go To Forum Thread” link below to jump in and discuss this article and much more!
Join the Discussion
Featured in this article
Read the full article here


