Guns and Gear

How Do I Fix a Rusted Gun?

Editor’s Note: This article is intended for informational purposes only. Please contact a professional gunsmith if this project would prove to be beyond your personal skill set. Only work with an unloaded firearm. NOTE: this approach can also remove or damage the finish of a firearm.

There’s an old saying that guns have two enemies: politicians and rust. I’m going to help you with that latter one. Firearms, like all metal objects, are susceptible to varying degrees of rust, depending on several factors.

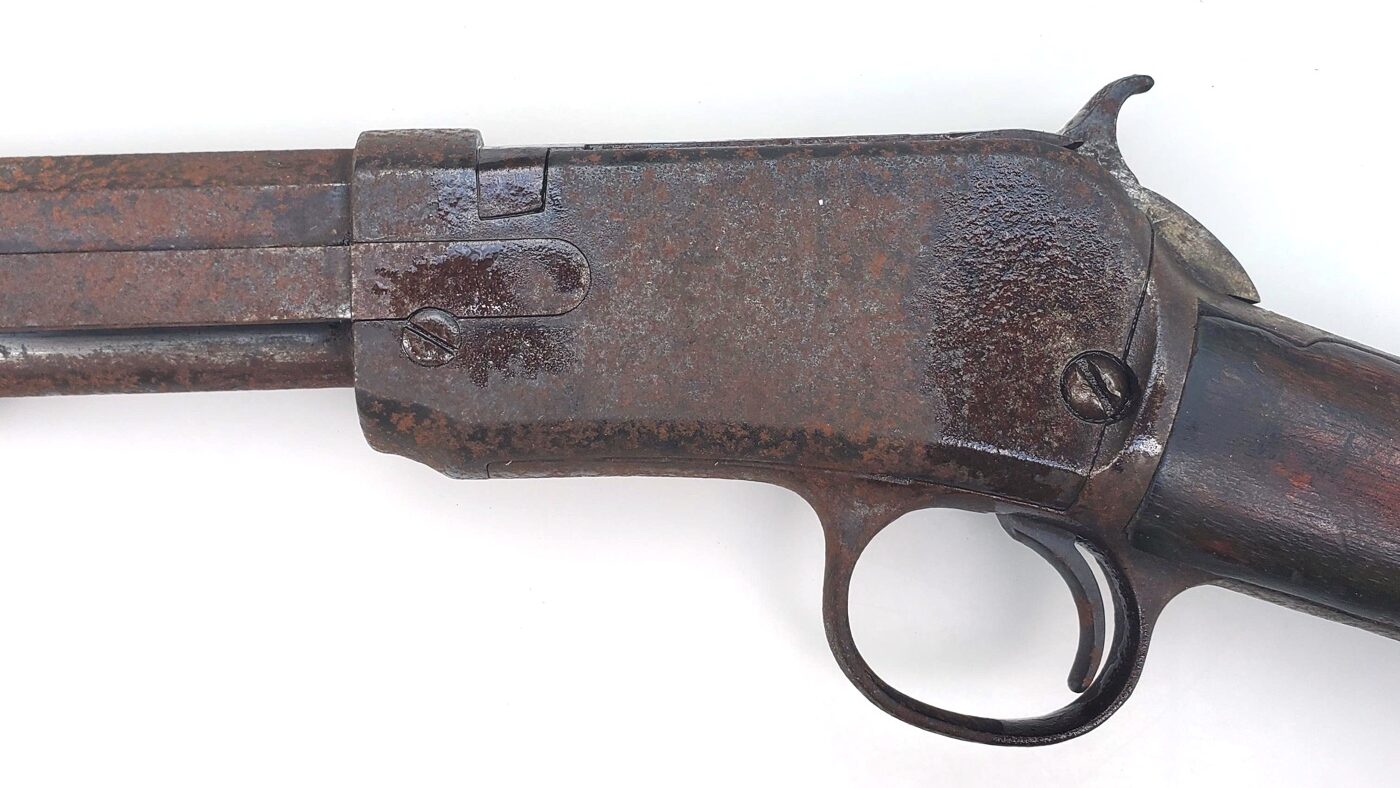
This old .22 pump rifle has seen better days. Addressing rust issues can stop additional corrosion and keep your firearm in a safe, usable condition.

When I started my law enforcement career, my department still had hot cars that were used on a continuous basis. When one broke down and had to go to the city garage, you had to check out a pool car, aka a “roach coach”. These cars were the oldest of the bunch, with high mileage, and were parked in the lot behind the police station.

One evening, I was stuck with a pool car. I found my car, and while checking the vehicle, I opened the trunk — yes, the trunk — to check on the department-issued shotgun. As I opened it up, the smell of mildew hit me. This pool car was missing weatherstripping, and the trunk had about two inches of standing water.
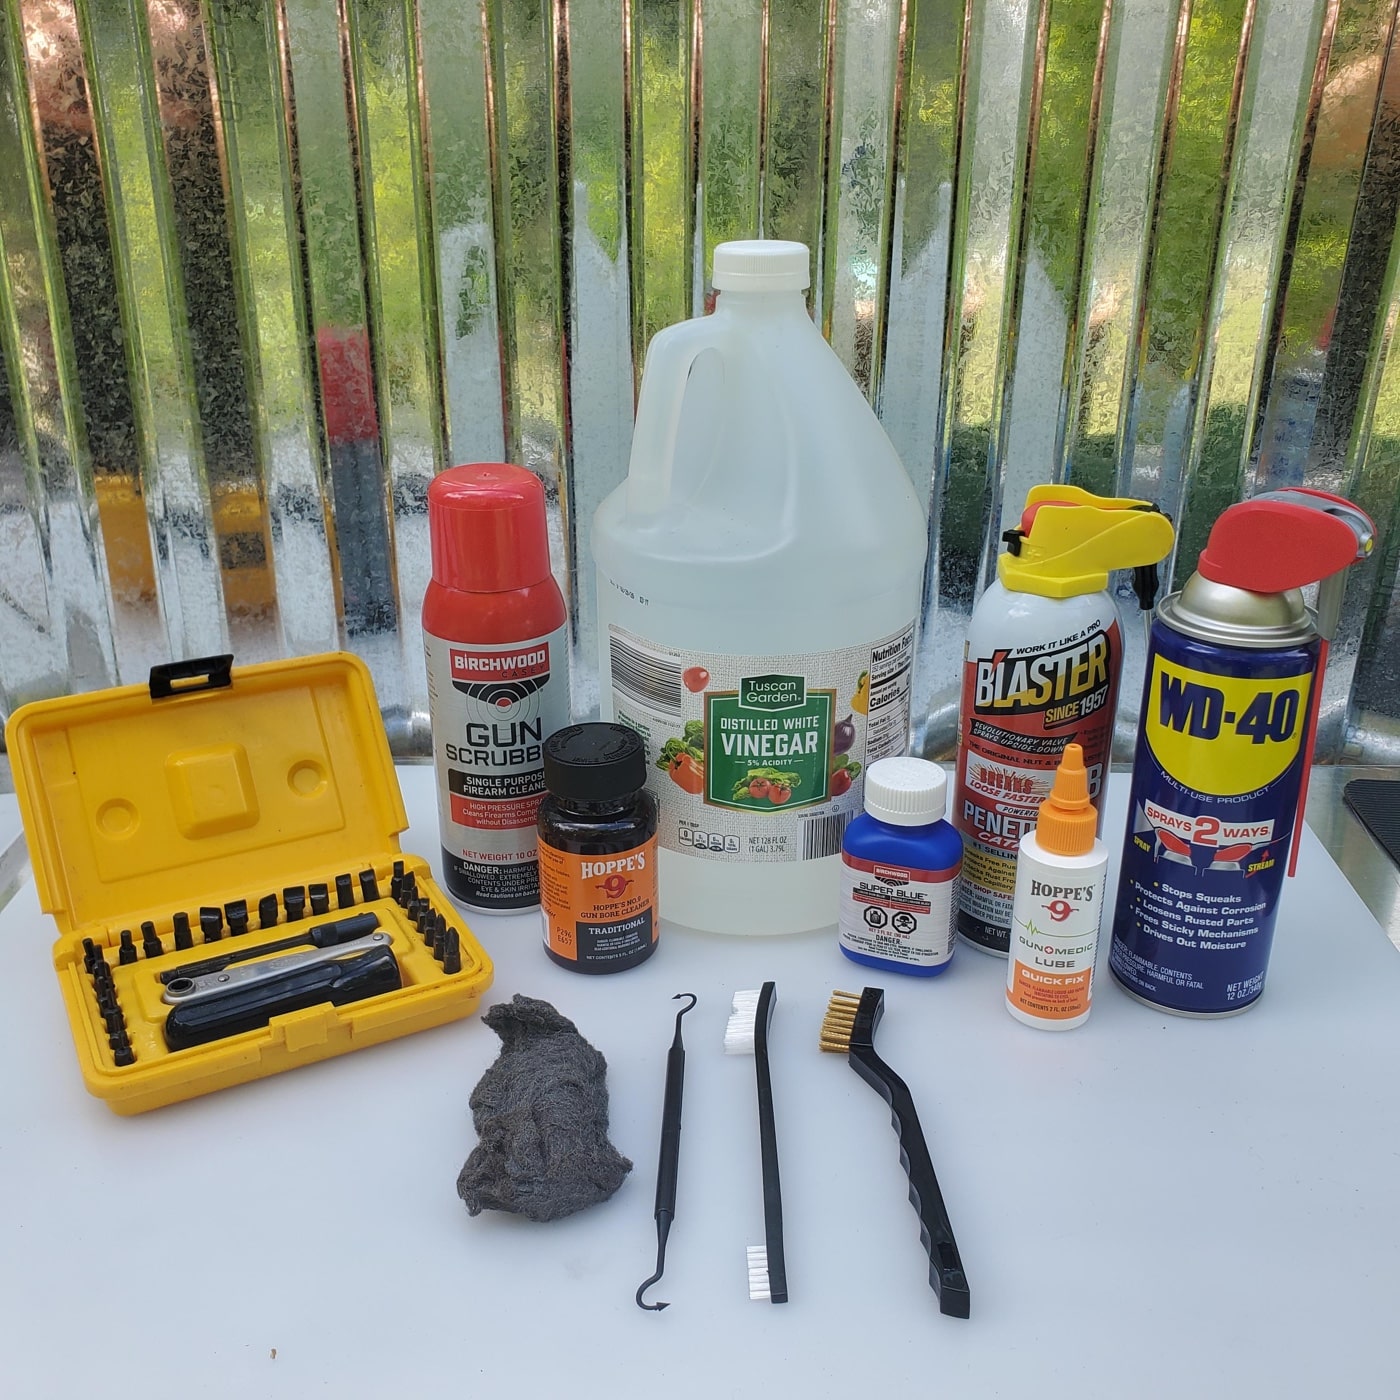
A photo displaying a group of rust removal supplies laid out on a workbench, intended for cleaning and restoring firearms. The supplies include a bottle of white vinegar, a can of penetrating oil, several pieces of fine steel wool, cleaning brushes, lint-free cloths, latex gloves, and a bottle of cold blue solution. The items are arranged to be easily visible and accessible, with some brushes and steel wool placed close together to highlight their use in scrubbing away rust. Safety glasses are included in the layout, reinforcing the importance of protection while working with chemicals. This image supports the article topic “how to remove rust from a gun” by illustrating exactly what materials are needed to do the job safely and effectively. It encourages readers to gather the correct supplies before starting any cleaning work. The setup signals that both common household and specialized products can be used for firearm maintenance.
Essential supplies for removing rust from a firearm include steel wool, cleaning brushes, white vinegar, and cold blue solution. The right tools help make the rust removal process safer and more effective.

The issued blanket, road flares, and other equipment sat in a pool of water. The shotgun was in its rack above the water, but it didn’t look right. I removed the shotgun to check it, and it was orange from surface rust!

Several factors can contribute to the rusting of firearms, including the use of corrosive ammunition, improper or inadequate cleaning, improper storage, and, of course, high humidity.

Removing Rust

So, let’s talk about how a layman can tackle dealing with a rusty gun. There are different methods to tackle a rust issue depending on the severity of the rust. Is the rust light or heavy? Is there pitting in the metal?
The image shows a close-up of a hand applying penetrant oil from a small can directly onto the screws of a firearm receiver before disassembly. The nozzle is aimed carefully at the screw heads, and a drop of oil is visible on the metal surface, indicating that the penetrant is being used to loosen rust or corrosion. The firearm is resting securely on a padded work surface, and the lighting highlights the rusty screws and affected areas. This photo illustrates a key step in “how to remove rust from a gun” — preparing stuck or rusted screws so they can be removed without stripping or breaking. Using a penetrant at this stage makes the rest of the cleaning process much easier and protects the firearm from unnecessary damage. The image is intended to educate readers on proper prep for gun maintenance, emphasizing careful technique and attention to detail.
Applying penetrant oil to the screws before disassembly helps loosen rust and reduces the risk of damaging parts or stripping threads.

Before starting, assemble your battery of cleaning products, supplies, and tools. Regarding tools, please acquire a proper set of tools. Cheap tools can cause problems and eventually damage your firearms.

When working on a rust issue, disassemble the empty firearm so only the parts needing work are exposed to any chemicals. If you are unfamiliar with disassembling your gun, look online for help and/or take pictures during disassembly to aid with reassembly. You don’t want to have parts left over and have to take the walk of shame to the gunsmith to reassemble your gun.
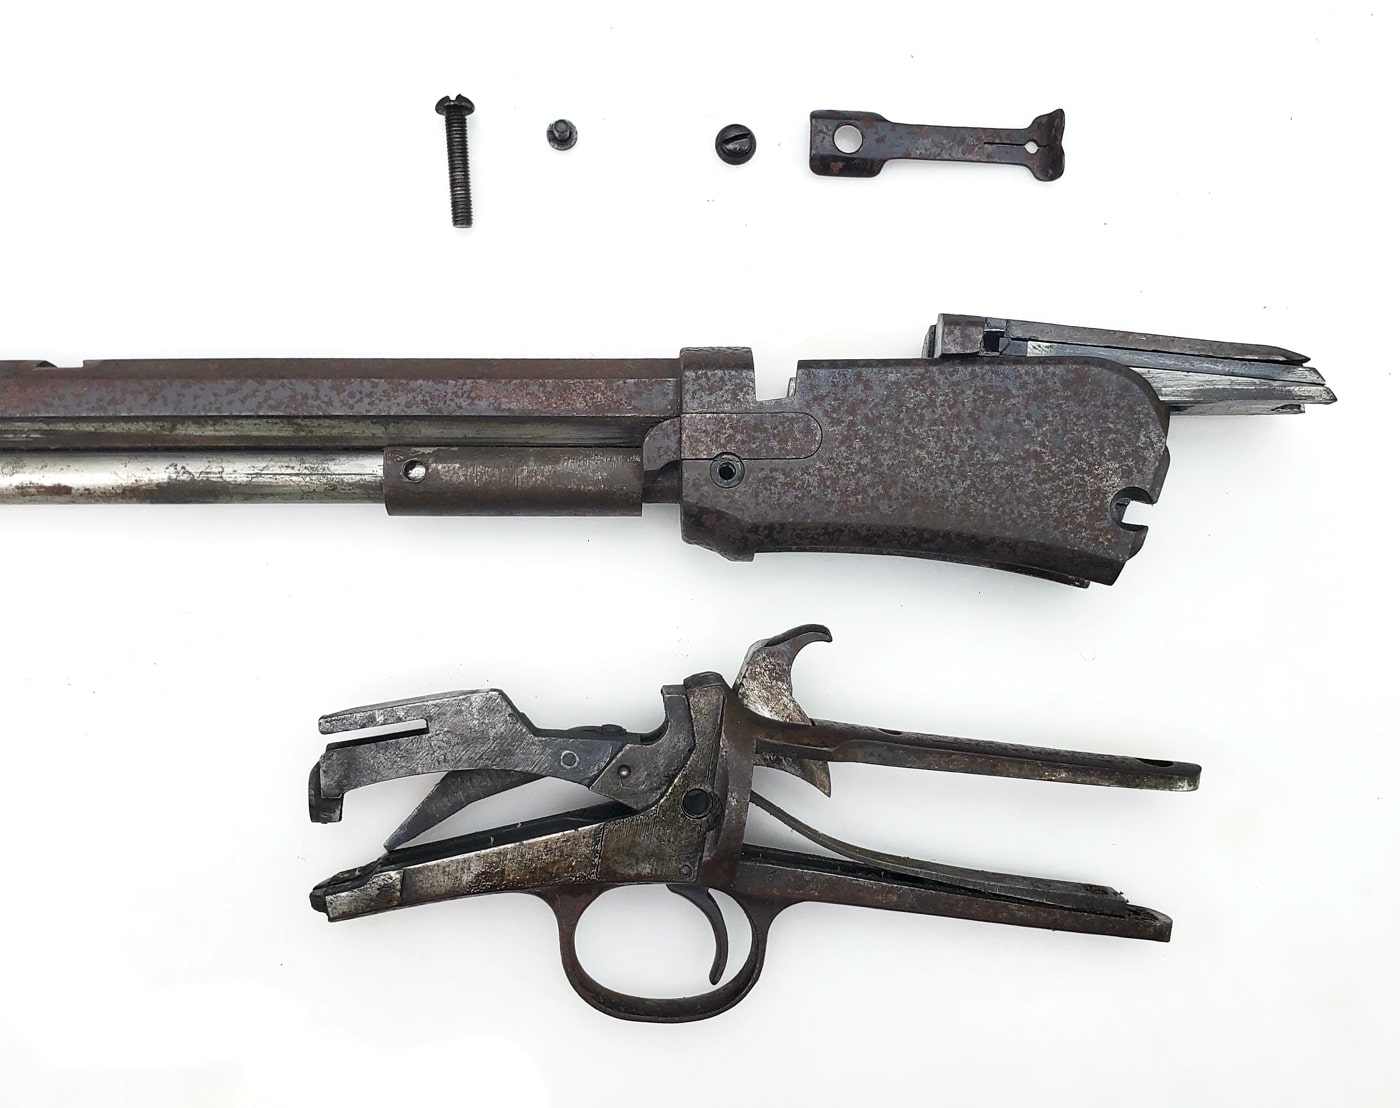
This image shows a set of disassembled gun parts spread out on a work surface. Each piece, including the receiver, barrel, screws, and smaller internal components, shows varying degrees of surface rust. The rust appears as orange and brown discoloration, particularly along edges and exposed metal surfaces. The parts are arranged in a way that makes it easy to see where corrosion is most severe and where lighter cleaning may be needed. The background is a basic workbench or table with a cloth or towel underneath to catch debris. The scene illustrates why disassembly is crucial for addressing rust — hidden areas and interior parts often need just as much attention as the outside. This photo helps readers understand the importance of inspecting all parts individually before starting the cleaning process.
Disassembled gun parts with visible rust laid out for inspection and cleaning. Full disassembly is an important step for thorough rust removal.

Although it shouldn’t have to be said, you must clear the firearm before doing any maintenance on it.

White Vinegar for Rust Removal

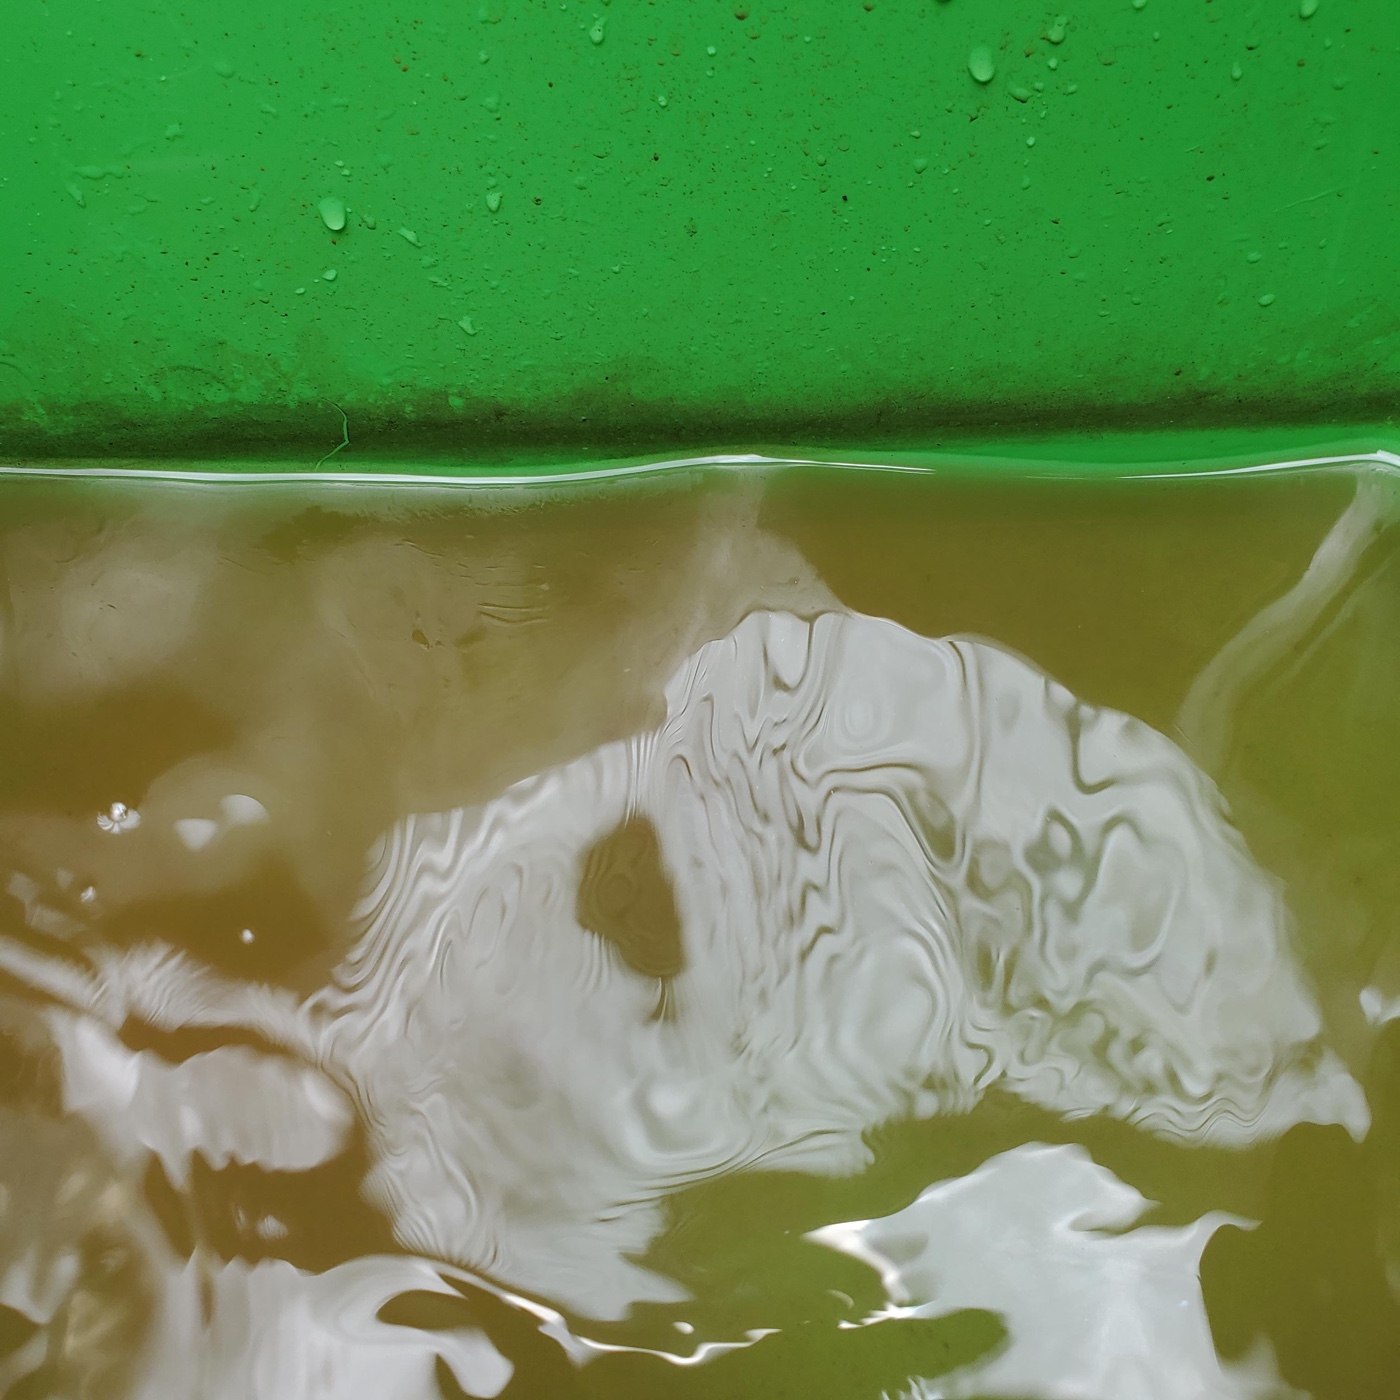
Distilled white vinegar is an excellent cleaning product in general; it’s inexpensive and readily available. Since it is a mild acid, it will break down rust. Apply vinegar to the affected areas and let it work for about 15 minutes, then use a brush to help remove the rust.
This photo displays a firearm part, like a receiver or barrel, that has just been cleaned using a white vinegar bath. The metal surface is largely free from rust, with some small patches of darker discoloration where rust was heaviest. The background includes a plain work area, possibly with a towel underneath and a bottle or container that held the vinegar bath off to the side. The difference between the cleaned area and any remaining spots of rust is clear, showing how effective vinegar can be for removing corrosion. The image makes it clear that a simple household product can make a major difference in restoring metal gun parts. Some light pitting or marks may still be visible, but the main damage from rust is gone. This visual helps readers see the before-and-after effect of using a vinegar bath on a rusty gun part.
After soaking in white vinegar, rust has been lifted from gun components. Using a mild acid like vinegar is a common method for tackling stubborn surface rust.

If the rust is all over, you may want to submerge the parts in a container. Keep in mind that vinegar can remove the bluing. After rust removal, wash the parts in hot water and soap to neutralize the vinegar.

Using a Penetrant on Corroded Parts

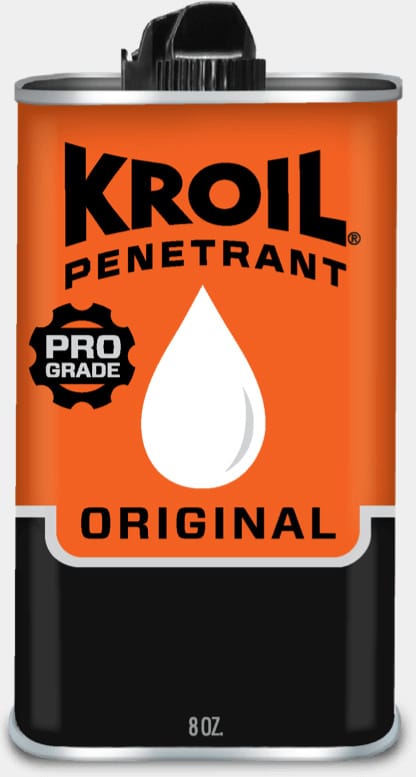
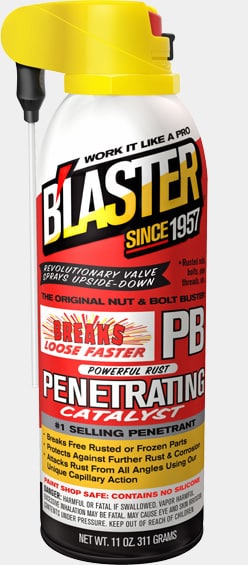
For lighter rust spots, using Kroil or Blaster penetrant will effectively remove light rust. Coat the rusted areas with the penetrant and use a stiff brush or 000 steel wool to scrub the area. You don’t want to use anything too abrasive, as it could damage the surface.

To Blue or Not to Blue?

Bluing is a process of treating steel to create a protective coating by converting rust into black iron oxide. The blue-black image of black iron oxide is how it got its name.
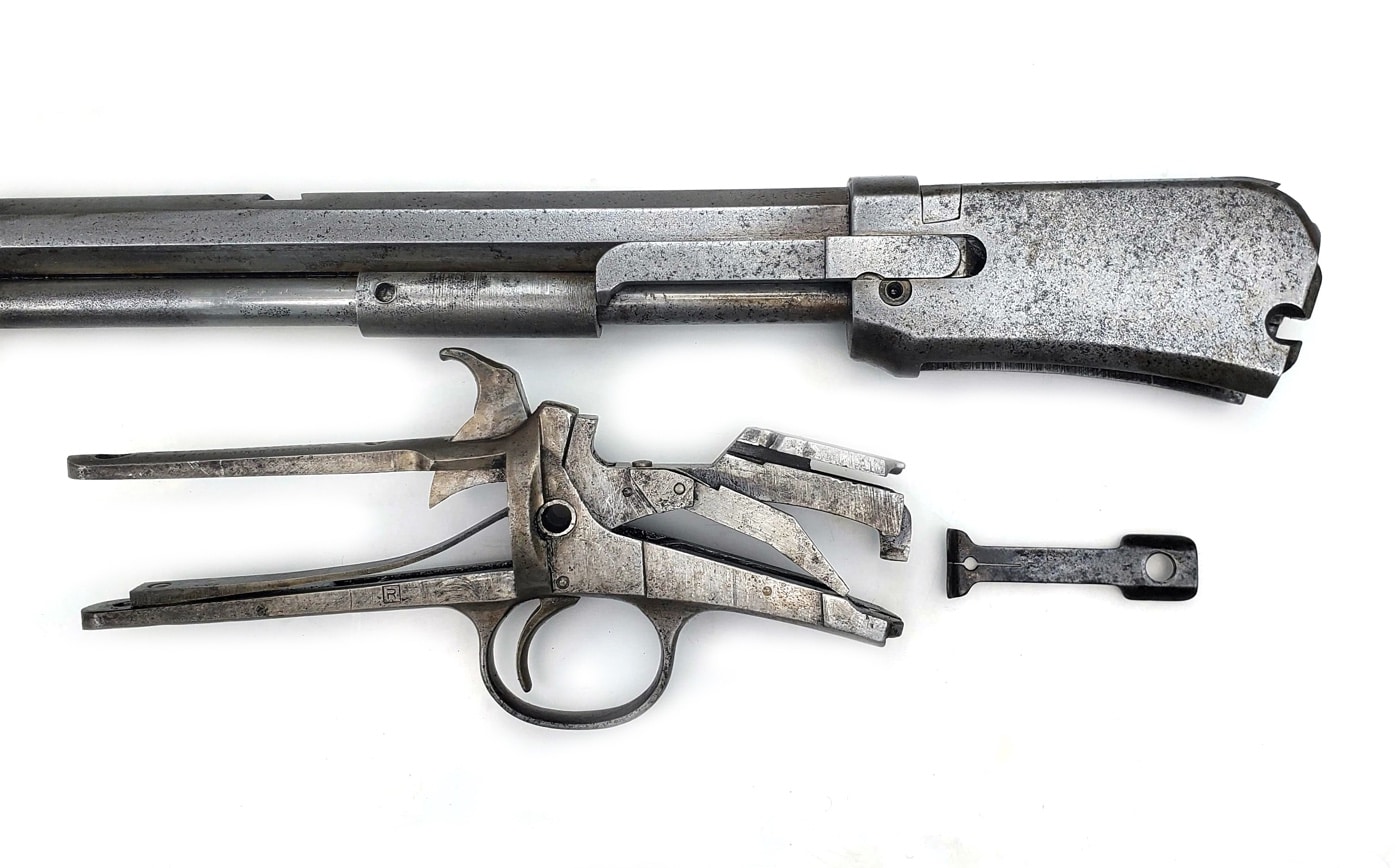
This image shows a collection of gun parts laid out on a clean towel or workbench after being soaked in a white vinegar bath to remove rust. The metal components — including the receiver, barrel, screws, and smaller pieces — appear noticeably cleaner than before, with the reddish-brown rust largely dissolved. Some areas may still show faint discoloration or pitting where corrosion was deep, but the majority of surfaces are now exposed bare metal or have a light gray finish. The arrangement lets viewers see the results of this simple cleaning process and how effective vinegar can be for restoring neglected firearm parts. The photo highlights the improvement over the earlier, rust-covered condition and sets the stage for further maintenance or refinishing steps.
These gun parts have been soaked and scrubbed in vinegar to remove surface rust. The metal looks brighter, and most of the visible corrosion is gone.

There are two standard methods of bluing a firearm: hot and cold. Both gun manufacturers and gunsmiths use hot-bluing. The process is more involved, but it offers enhanced protection against corrosion. Cold bluing is used mainly for touch-up work by regular firearm enthusiasts and is less durable than hot bluing.

Today, we’ll be demonstrating the cold bluing method.

Now What?

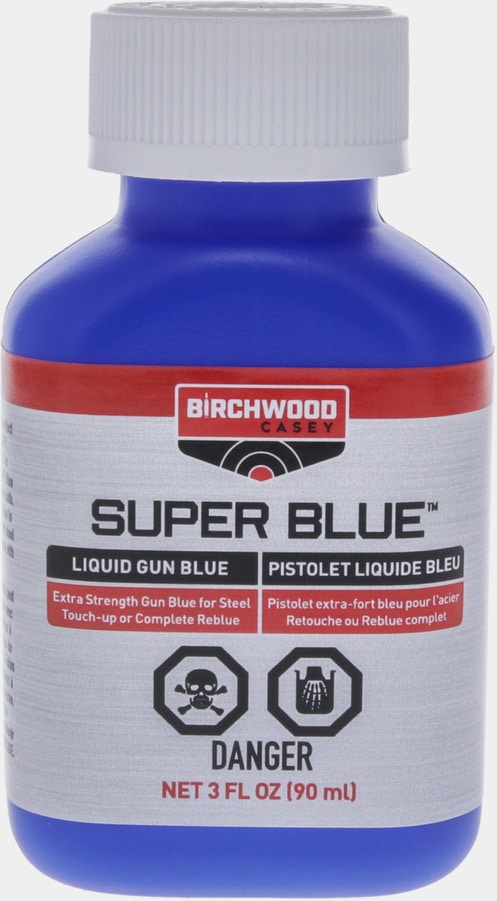
If you’ve removed the rust as best you can and it was worse than you thought, you may want to take it to a professional. If the rust is minor, many shooters use a cold blue solution. A product that I have used in the past with great results is Birchwood Casey Super Blue. It can be used for touch-up or a complete reblue. When using this, please ensure adequate ventilation.
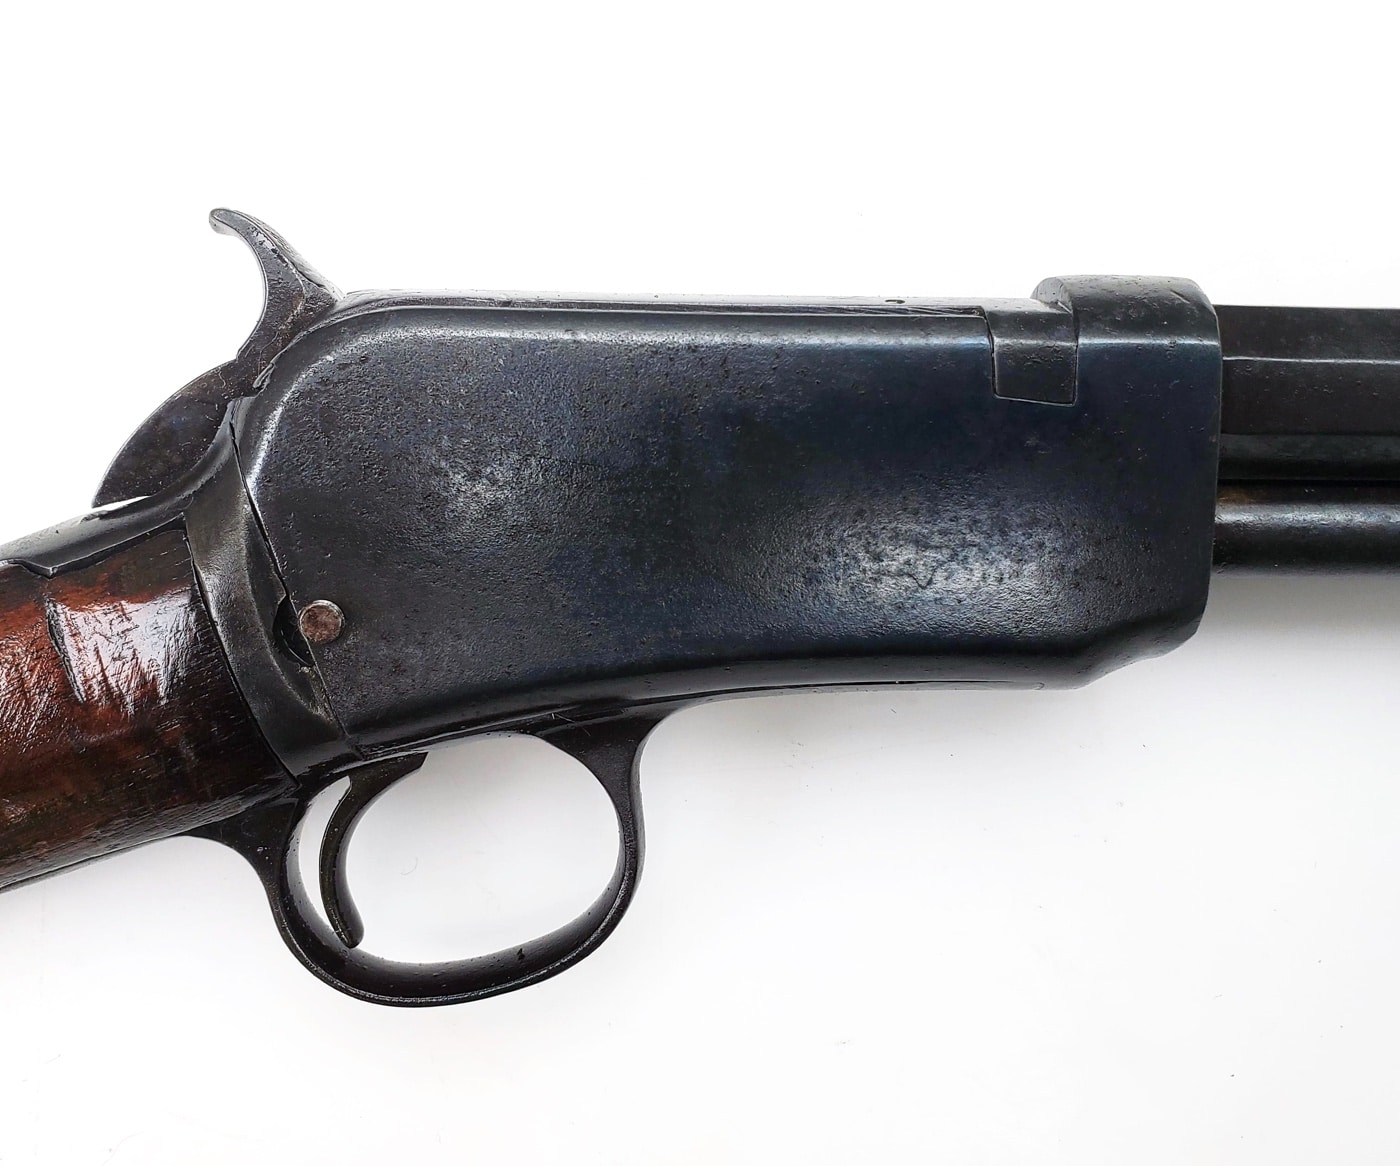
This image shows a close-up of a rifle receiver that has just been treated with a cold blue finish after rust was removed. The metal surface now appears smooth and dark, with an even color that indicates a protective coating has been applied. Any previous signs of orange or brown rust are gone, replaced by the deep blue-black tint typical of cold bluing solutions. The finish not only improves the look of the receiver but also helps shield it from future corrosion. The background is plain, focusing attention on the newly restored metal. This stage comes after cleaning and prepping the receiver, showing what gun owners can expect when they use a cold blue product on their firearm parts. The result is a receiver that looks close to new and is better protected from moisture and handling.
Cold bluing has been used on this rifle receiver after removing rust, improving both appearance and protection. The metal looks darker and more consistent than before.

You’ll want to apply the solution only to the area to be reblued, as it can affect the existing blue.

  1. First, clean the area with a cleaner degreaser or denatured alcohol and rinse with cold water. 
  2. Brighten the area to be reblued with steel wool or abrasive cloth.
  3. Clean again and rinse.
  4. Apply blue with a saturated swab or sponge.
  5. Allow to work for 30 seconds, rinse with cold water, and wipe dry.
  6. Polish lightly with steel wool.
  7. Repeat steps 3, 4, 5, and 6 for a darker blue.
  8. Let cure overnight for best results.

Rust Prevention

Now that your firearm is back in good working order, you need to maintain it in that condition. Getting a rusty gun back into service takes time and energy that you could be using to shoot! You don’t want to have to repeat that process. 

Cleaning and Lubrication

After range time, clean your guns. There is no excuse for putting a dirty gun back in your case or cabinet. Shooting leaves corrosives inside the weapon, and they need to be removed.

This image shows a firearm being placed inside a gun safe lined with gun socks and accompanied by desiccant packs. The safe is designed to keep out moisture and dust, with guns individually wrapped or stored to prevent scratches and rust. A bottle of gun oil and a cleaning cloth are visible on a nearby shelf, reinforcing the routine of wiping down and oiling metal parts before storage. The scene highlights practical steps anyone can take to keep firearms rust-free, such as using dehumidifiers, desiccant, and proper protective covers. Regular cleaning and lubrication, along with storing guns in a controlled environment, are emphasized as critical measures for preventing corrosion. The overall setup demonstrates an effective approach to long-term firearm care.
Keeping your guns clean, lubricated and stored in a dry environment goes a long way in preventing rust. Good habits can save you from dealing with corrosion and expensive remediation.

After cleaning, lubricate your weapon. Depending on your environment, you may need to lubricate more frequently. I have been to department qualifications and witnessed guns seize up after a few rounds due to a lack of lubrication. Believe it or not, some officers don’t remove their duty pistol until it’s time to qualify. In areas with high temperatures and humidity, your gun needs to be checked frequently.

Proper Storage

Now that your firearm is looking better, let’s keep it that way. Firearms are an investment and should be stored with care. You want to keep your firearms away from moisture. There are various storage solutions available to keep your firearms safe.

Something as simple as a gun sock can help keep your firearm from rusting. They are impregnated with silicone and also cushion your guns from scratches.

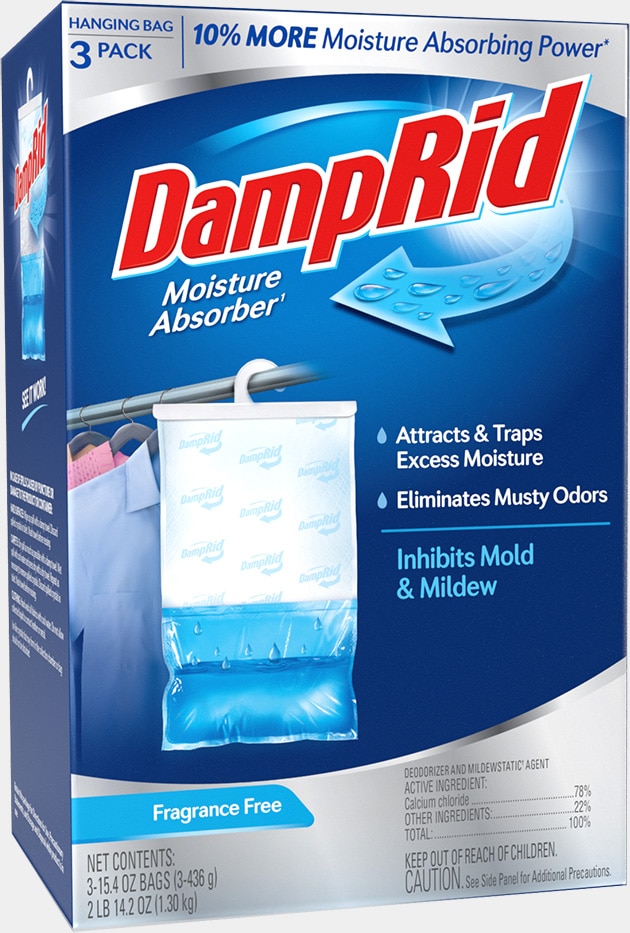
When storing firearms in a gun cabinet, using a desiccant can be beneficial. Many shooters use other methods, such as Damp Rid or a piano dryer/dehumidifier, in their safes to control moisture levels.

Protect Your Investment

Firearms are expensive, so why wouldn’t you want to keep them in safe working order? Follow these tips and enjoy the shooting sports.

Editor’s Note: Please be sure to check out The Armory Life Forum, where you can comment about our daily articles, as well as just talk guns and gear. Click the “Go To Forum Thread” link below to jump in and discuss this article and much more!

Join the Discussion

Go to forum thread

Read the full article here

Leave a Reply

Your email address will not be published. Required fields are marked *

Back to top button