
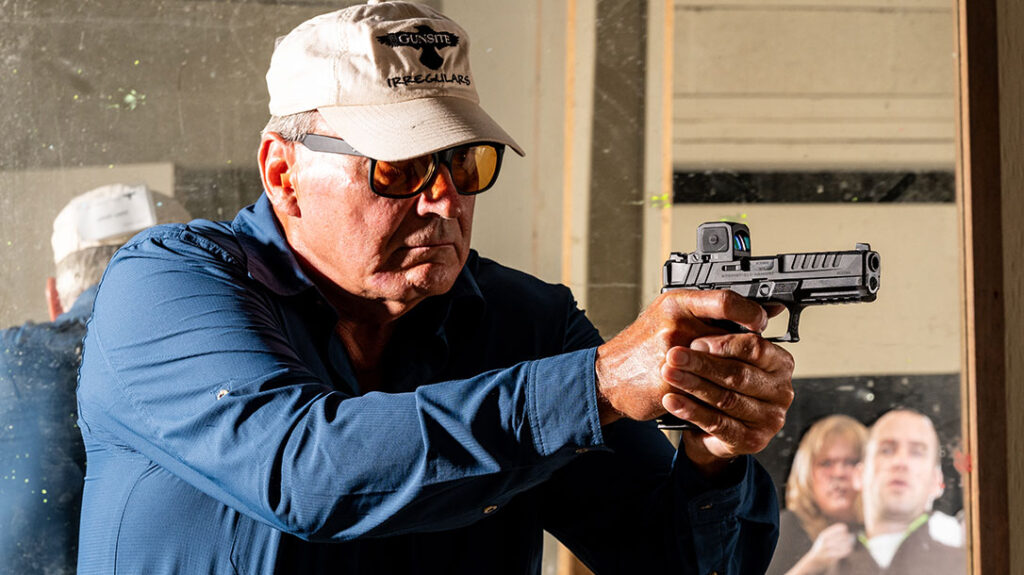
“Pistol-mounted optics are not the future-they are here now!” Those telling words came from Ken Campbell, CEO of Gunsite. I was at Gunsite to take the 350 Intermediate Pistol with Optics Class.
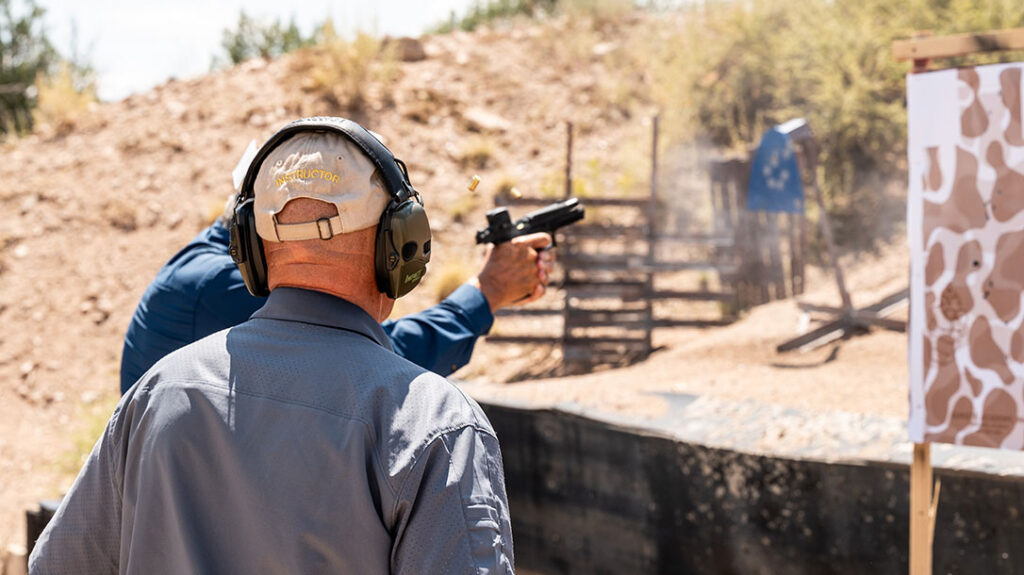
Running the Springfield Echelon at the Gunsite 350 Pistol Optics Class
Always on the cutting edge of armed technology, Campbell reports that nearly 60% of students arrive for class at Gunsite with some sort of optic on their handgun. Things have come a long way since my first visit in 1981, armed with an AMT Hardballer 1911 pistol. While some students still come for classes with 1911s, the vast majority are using striker-fired pistols.
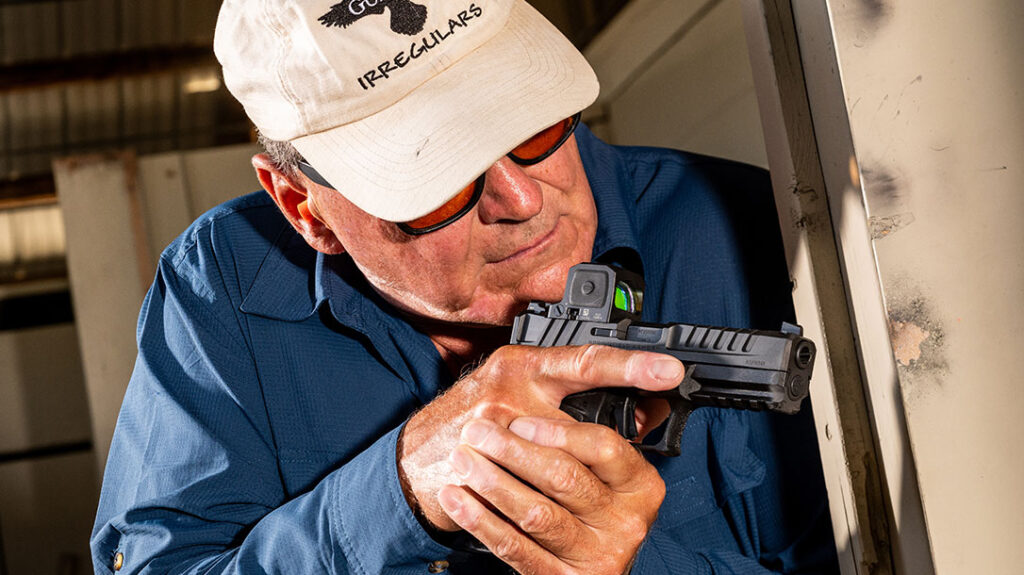
My 350 class would focus on how to properly use a pistol equipped with a red dot optic. I’d be spending the week with Springfield Armory’s new Echelon. It was equipped with an equally new Trijicon RCR, slide-mounted, closed emitter red dot optic.
Sight For Sore Eyes
An unfortunate fact of life is that older people do not embrace new technology as readily as younger folks. How often have we heard the phrase, “I’ve done it this way all of my life.”
The one constant of life is change, and at the age of 64, my eyesight is nothing like it was when I first visited Gunsite. I still enjoy shooting my 1911s, but it is getting tougher. My eyes don’t have the ability to see the front sight clearly. Nor shift the focus from the front sight to the target and back again as I start my trigger press.
The neat thing about using a red dot is that you maintain your focus on the target and merely let the dot appear. It does not need to be centered in the optic window. If you can see the dot and place it on your target, that is where your round will go.
As I learned in this class, you do not focus on the dot, your focus will remain on the target. For law enforcement and self-defense use, the advantage of watching your threat versus shifting your focus back and forth from the front sight to the target is obvious.
For older folks like me, red dot optics mean that I can shoot faster and more accurately. And that enhances my range experience. For concealed carry use, I know I can make a difficult shot with confidence.
Teacher Preacher
Teaching our class would be longtime Gunsite instructor, combat Army veteran, and career law enforcement officer Erick Gelhaus. There may be more knowledgeable people in our industry regarding optics. But if there are, I have yet to meet them.
Gelhaus first started experimenting with optics back in 2010. He mounted an Insight MRDS onto a mount “beaten into a Novak slide cut” on his Colt 1911. The result was an optic with an unusually high profile—by today’s standards.
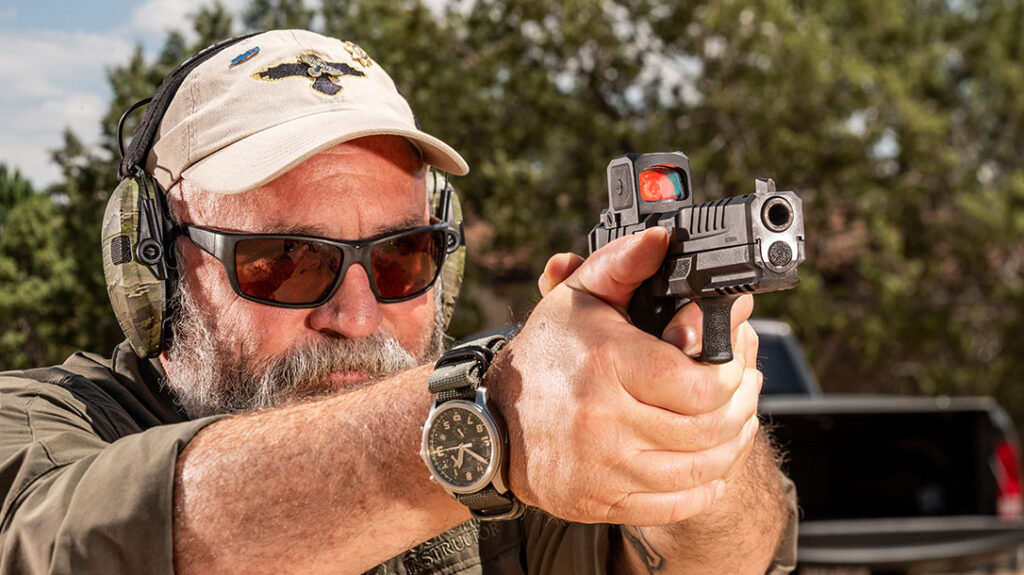
In 2012, he put a Trijicon RMR on an S&W M&P with limited success. Gelhaus readily admits he broke several red dot optics early on before deciding they weren’t quite ready for duty use.
By 2018, he recognized that red dot optics had shrunk in size, been ruggedized sufficiently, and had significant battery life for duty use.
Now came the hard part: developing a course designed to get new dot users up to speed with an optic. Gelhaus developed an extraordinary 5-day course that covered:
- Optic failure
- Firing from positions
- Shooting with a handheld light
- Firing from retention
- Clearing a room
- Negotiating field courses
- And much, much more.
Repetition with the Pistol Optic
Finding the dot on presentation from the holster is one of the most difficult things for the new dot shooter. In fact, I know shooters who have mounted a red dot on their favorite carry gun and then removed it, saying something like, “Red dot sights are just not for me.”
The solution is lots of dry-fire practice and, initially, range time. Building muscle memory and learning to find the dot from the holster or low-ready position requires lots of repetitions. Gelhaus started each of our morning sessions with 15 minutes of dry fire work.
“Concentrate on the target and where you want the round to go, and place the dot on that spot between your eye and the target.”
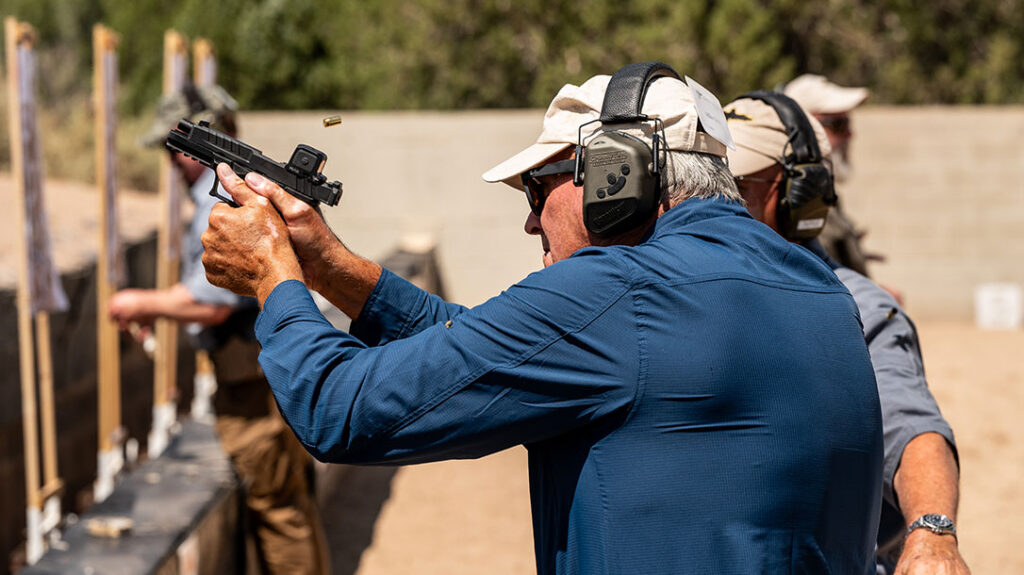
On presentation I would punch out to the target, concentrating on the spot where I wanted my round to go. My eye would find the optic housing, then glass, and then dot, while my finger found the trigger and started applying pressure.
Shooting a Red Dot at Distance
Gelhaus had us sight in our optics at 15 yards. At this distance, most of the students could fire a 4 to 5-inch group consistently. This allowed us to know if any windage or elevation corrections needed to be made.
For most 9mm loads, this zero will be close at 35 and 50-yard distances. Outdoor field courses, like the Donga and West Wash, involve moving through a zig-zagging arroyo and engaging steel targets as they become visible. If you’re paying attention, you’ll be able to shoot some of these targets at the 25-yard-plus range.
Likewise, Gunsite’s Urban Scrambler, another field course, also has some far shots. Negotiating through these courses involves moving fast, with your heart racing. It tests your ability to assume a secure firing position and squeeze off a shot. All while trying to keep your dot as steady as possible.
Before a lunch break on our third day, Gelhaus had us line up in a column of two. Then, we each fired at gum drop-shaped steel targets about 15 inches wide at the bottom. We started at 10-yards and moved back another 5-yards if we successfully engaged the steel. Miss the steel, and you’re out.
Eventually, we ended up at the 35-yard line, and my opponent missed while I hit. I was rewarded with a Gunsite challenge coin!
Tactical Darkness
One block of instruction that I found especially helpful was night shooting with a hand-held flashlight. I used a Surefire Stiletto, and Gelhaus demonstrated several different search methods. This included the FBI search with the support arm extended above your head.
He also had us try the temple index, where the support hand with light touches the side of your head. Likewise, we also tried the slightly lower jaw index, and I found this worked better for me.
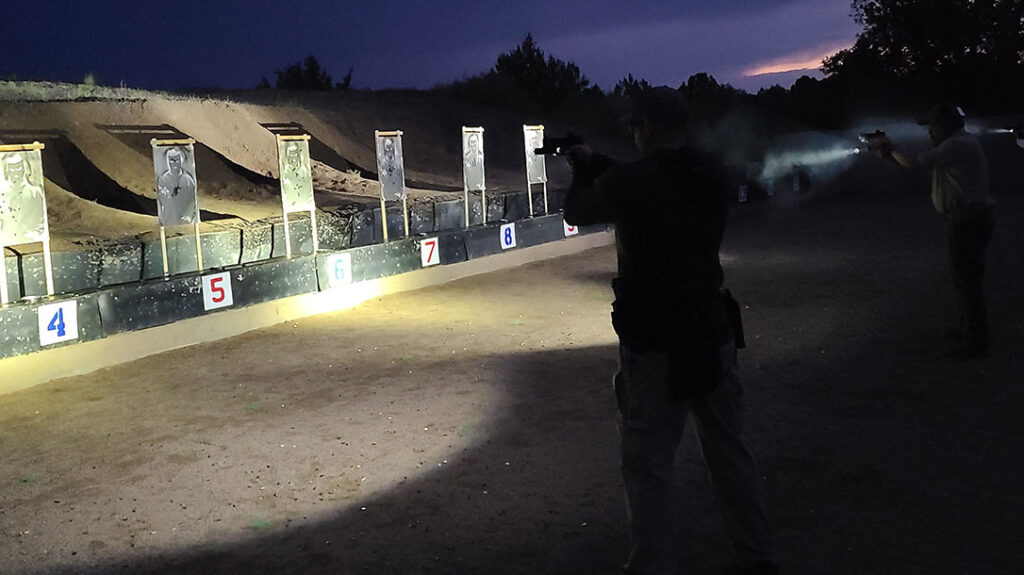
We started on the square range, learning these new methods, and Gelhaus had us fire a significant number of rounds. This allowed us to identify a preference with the techniques.
Finally, we also learned how to assume the Harries technique. Using two hands, crossed at the wrist, push with the gun, and pull back with the flashlight hand. This develops isometric tension for support.
The technique provided surprising accuracy, but care is required so as not to muzzle the support hand accidentally.
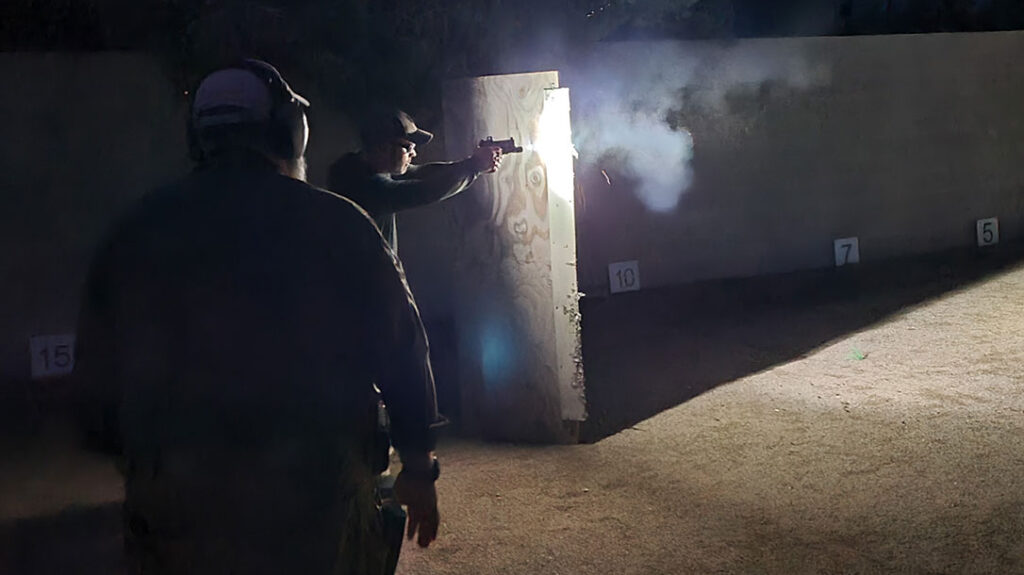
Running the Shoot House with Illumination Techniques
After an hour of range work, we went to Gunsite’s Fun House. Here, we cleared the structure, searching with our new illumination techniques. Thrown into the mix were no-shoot or “friendly” targets.
It is amazing how these exercises can fill you with adrenaline. Not only do you need to take some deep breaths to calm yourself down, but you also need to adequately identify your target before taking a shot.
Shooting inside a structure will most likely be a new experience for most shooters. And it is important to know how an illumination tool will affect you. Too many lumens will blind you like a flash bulb. Holding the light too close to a wall will bounce that white light back into your eyes.
If you’re right-handed and hugging the left side of a door frame for cover, you need to know what you’re going to do with your support hand and flashlight.
One issue I had not thought of was the gun smoke after firing. Firing a quick double-tap at close range and then trying to illuminate the target for assessment results in lighting the smoke, making it almost impossible to assess the target.
Gelhaus showed me that dropping to a knee would get me below the smoke for a quick assessment.
Springfield’s Echelon Excels at the Gunsite 350 Pistol Optics Course
During my five days at Gunsite, I fired more than 2000 rounds of Doubletap 124-grain FMJ Match ammunition. That was more than the average student in the 350 Optics class. Specifically, because I was also testing the new Springfield Armory Echelon.
I brought along enough extra ammunition to have Gelhaus and other instructors try the gun. I purposely did not clean or lubricate the gun during this time.
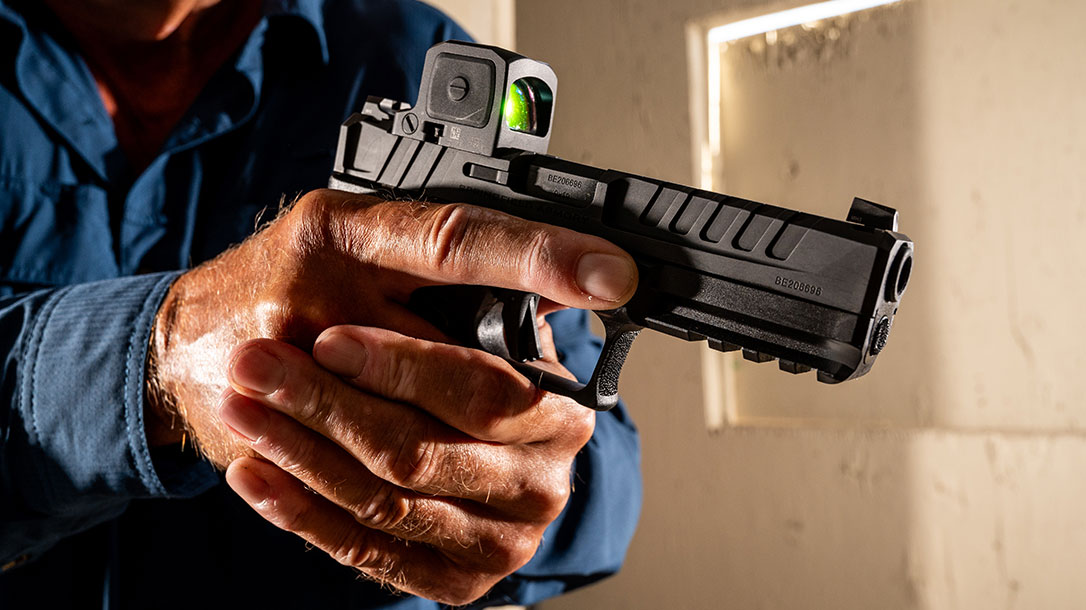
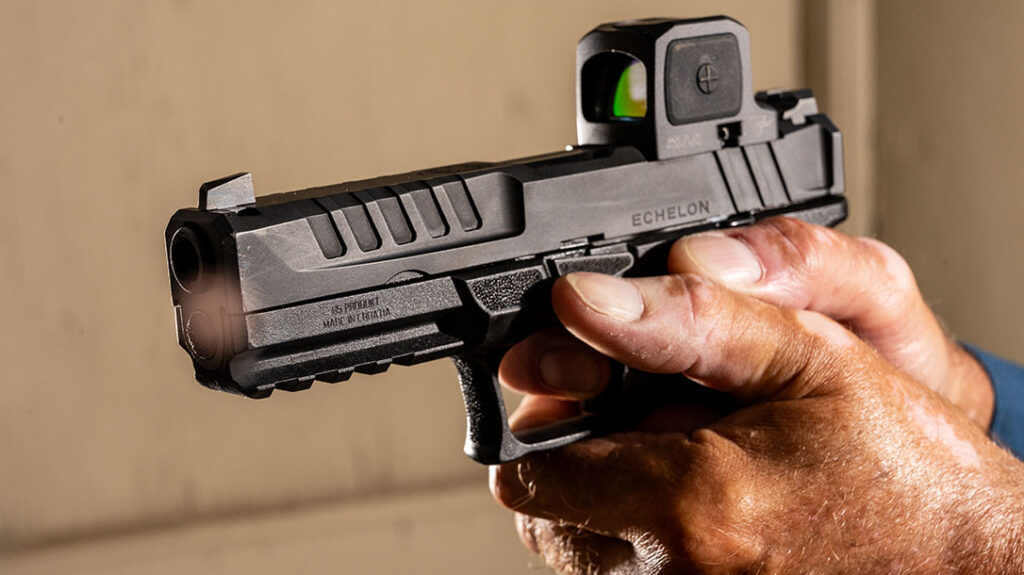
Designed to be a duty weapon for law enforcement or security use, the Echelon is a full-size, 9mm pistol. Correspondingly, it is shipped with a 17-round flush fit magazine and a 20-round extended mag.
Springfield designed the gun to use a Central Operating Group (COG). This part contains the fire control unit and is serialized. It can be moved to a small, medium, or large frame to individualize the gun to the user. Likewise, to further refine the fit, the gun comes with three different backstraps.
Ergonomics were certainly a foremost thought for Springfield’s engineers. The gun has a very low bore axis, which helps the shooter minimize muzzle rise. Similarly, the bottom of the trigger guard is dramatically undercut to allow a very high hold on the frame.
There are also multiple indexing points for a consistent grip. Among them is a place on the frame that the trigger finger can index to when not firing. Southpaws will also find the Echelon user-friendly as there are both bilateral slide stops and magazine releases.
The Springfield Variable Interface System (VIS)
Springfield equips the Echelon with its new Variable Interface System (VIS). This uses self-locking pins, which can be positioned to fit the footprints of over 30 different red dot optics.
I mounted the new Trijicon RCR, which shares the same footprint as the RMR and has the same deck height. It has a 3.25 MOA dot, ten brightness settings, and uses the common and economical CR2032 battery. Trijicon claims the battery will last an amazing six years!
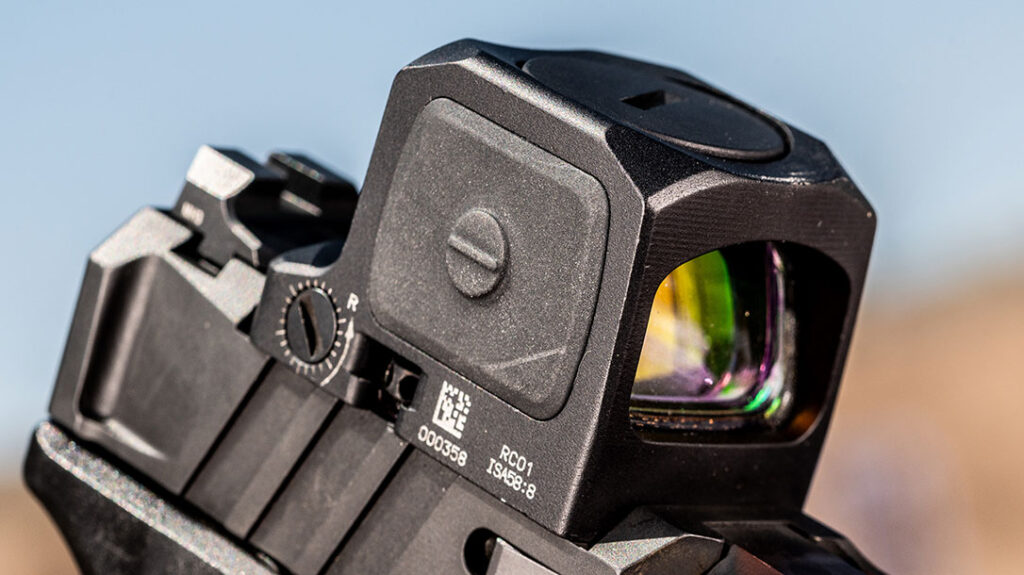
The optic weighs just 2 ounces, and its rugged housing is machined from tough 7075-T6 aluminum. One of the best advantages of a closed emitter system is that it provides more protection from the elements. During my time at Gunsite, we had rain, blowing dust, and temperatures ranging from 60 degrees to over 100 degrees. The RCR ran just fine!
Before leaving for my Gunsite class, I tested the Echelon for accuracy at 25-yards. Using a variety of range and defense ammunition, I found the Echelon capable of 1.20” accuracy. In addition, it has a trigger that breaks crisply at 3.75 pounds with a firm reset.
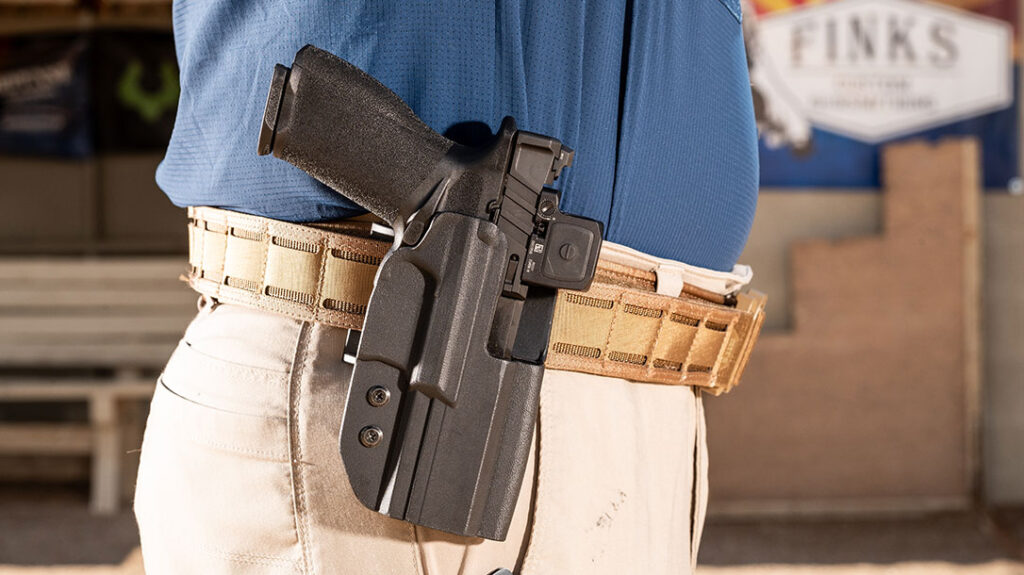
Comp-Tac provided me with one of its International Holsters. Constructed from tough kydex, the holster provides a secure and rock-solid platform for presentations. The company also supplied me with three magazine carriers that feature adjustable retention. I mounted the holster and mag carriers on my 5.11 pistol belt for easy on-easy off use.
A Flawless Performance from the Echelon
Not surprisingly, the gun performed flawlessly during the 5-day class, as did the related equipment that I used. One of the more fun experiences was the last day of class when Gelhaus conducted Man-on-Man shoot offs.
We moved over to the Dozier Range located between the Hanneken and South Ranges. Two tires are placed next to each other, and the participants place one foot inside the tire. At the signal, shooters engage two round 8-inch plates—one at about 10 yards and the other at about 15. Then, perform a mandatory reload and shoot a smaller popper, and then finally, their half of a split popper.
Assuming all of the other plates were successfully engaged, the winner of the bout would be the person whose split popper plate is on the bottom. Gelhaus then recorded the winners of each bout.
We each fired ten matches against different students, and—when I stayed on the dot—I won my bouts. Pete Feeny, a Gunsite instructor who was auditing the class, tied me with seven bouts for second place.
At the age of 64, I was very happy to share second place! The winner was in his late 30s and was shooting a red dot-equipped S&W Shield. Not to mention, he is a very talented shooter!
Make the Move!
If you’re thinking of moving to a red dot-equipped carry gun, do yourself a favor and get some first-class instruction. Take a course that will have you fire a significant number of rounds so that finding the dot will be second nature.
Also, make sure you receive some instruction involving using your gun with a hand-held illumination tool. I found Gunsite’s 350 Intermediate Pistol Class with Optics, as taught by Erick Gelhaus, extremely informative, challenging, and fun!
For more information on Gunsite and their courses of instruction, please visit their site at Gunsite.com.


Didn’t find what you were looking for?
Read the full article here
:quality(70)/cloudfront-us-east-1.images.arcpublishing.com/archetype/MM2MLLKK4RG2NIC3SEZKGORWV4.jpg)
:quality(70)/cloudfront-us-east-1.images.arcpublishing.com/archetype/DYIINWNOKRCFPMW53TSMNVVAJY.jpg)

:quality(70)/cloudfront-us-east-1.images.arcpublishing.com/archetype/CMZLJZFQJ5BGHKTCUAXAA2F3YE.png)