Three Self-Defense Pistol Drills for Public Shooting Ranges

Editor’s Note: Please check with the rules of the shooting range you attend before you attempt any specific drills/tactics/etc.
Training at public ranges has its limitations, and many of those limitations are in place to keep everyone safe. For instance, drawing from a holster or from concealment is almost always never allowed. Some ranges don’t allow shooting fast. Timers with buzzers are also frowned upon. Let’s just say public ranges are controlled environments, and training for self-defense situations in them can be difficult.
For me, I like to make training count by pushing myself to perform better while reinforcing basic gun-handling techniques like grip, sight alignment, trigger press, follow-up shot, and magazine reloads.
Below are a few public range-friendly drills that will help you improve your shooting and also keep the range officer happy.
Train with Purpose
I don’t like to fling lead down range without a plan. For beginners, it’s fine to just puts hits on a target. But as you progress, you want to improve.
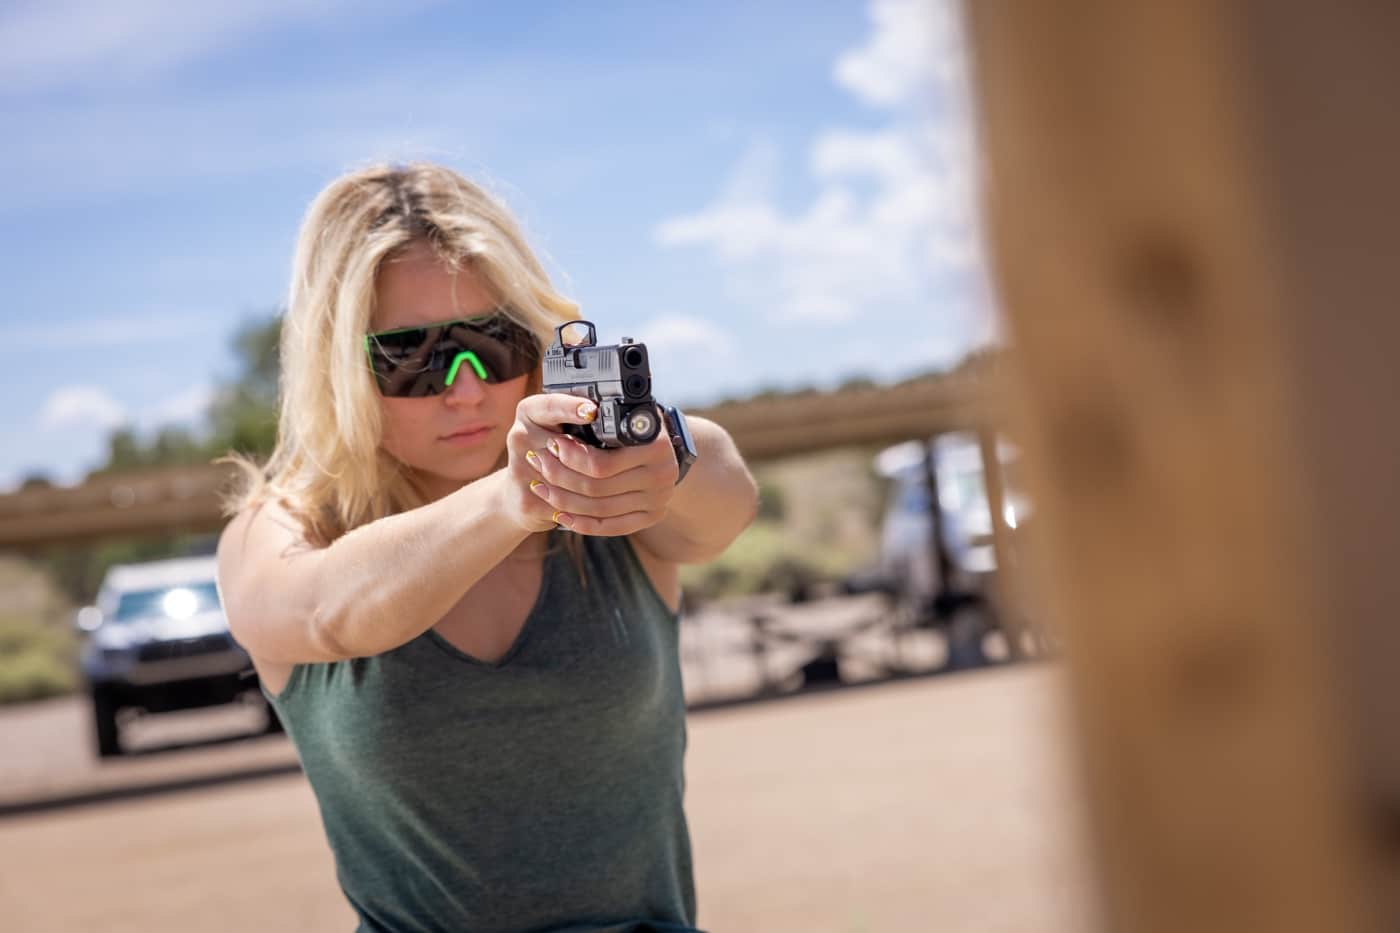
There is no warm-up in real life. Practice drills that exercise the basics and help build muscle memory so if it ever comes to a real-life situation, you will be better prepared.
Public Range Hack
Since you can’t draw from a holster at a public range, start from a low-ready position. Using a timer is a great way to measure improvement as well as signal you to start, but timers are not allowed on most if not all public ranges. I improvise a timer’s start buzzer by using the sound of another shooter’s shot. Starting at low ready, I wait to hear the next shot and then begin the drill. Not knowing when you are starting applies more pressure and keeps you a bit off guard.
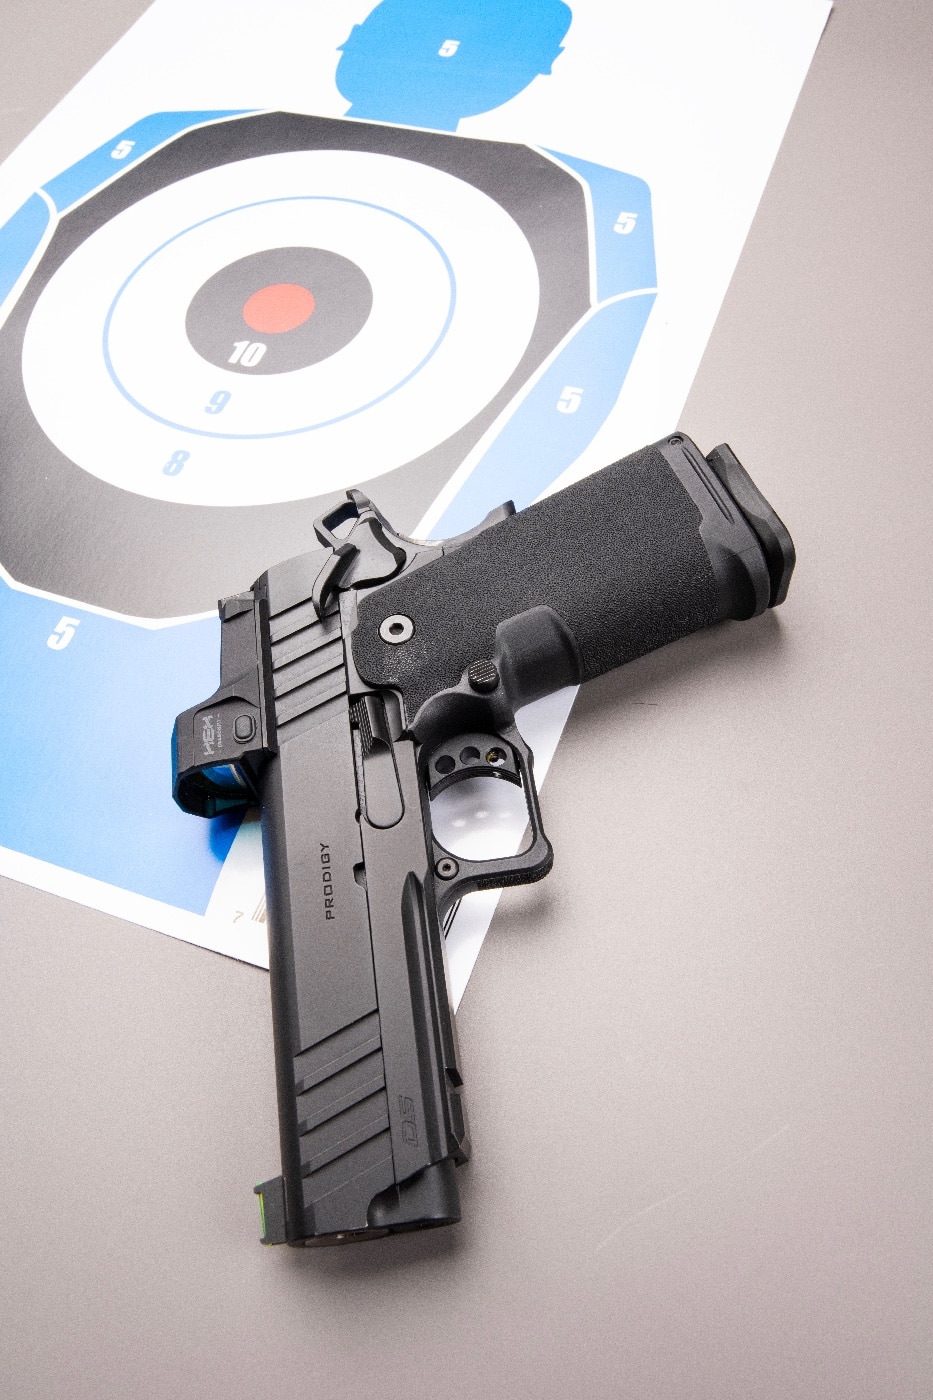
Drills that emphasize slow fire, rapid fire, strong-hand only, weak-hand only, and transitioning between targets are ideal. I also throw in long-range shooting with pistols at 25 yards. You want to be proficient at distance and at close range, just in case you need it. Remember, speed is not necessarily your friend; get the accuracy part down first, and speed will follow.
Targets do not have to elaborate. White paper plates are an inexpensive solution. The outside diameter is 8” the center is about 6”. They aren’t as dramatic as splatter burst reactive targets, but they are cheap. Plus, without the outline for the center section, you have concentrate more on aiming to hit the center. Plain white 8.5”x11” paper also makes great targets. Staple it vertically on the range’s stand, and it’s almost the same size as the center of mass on a torso target.
In my opinion, the three drills below are well-suited for public ranges. They focus on the basics and provide a challenge. All of these drills can be performed with a handgun or rifle. Increase target distance when using a rifle.
Drill #1: The 1-Reload-1 Drill
The 1-Reload-1 Drill is a fun drill for practicing reloading and accurate shooting. Set a target, like a paper plate, at 7 yards. Start with a single round in the chamber and an empty magazine in the gun, with it at low ready. Fire one shot, perform a reload going for smoothness and minimal movement, and fire another shot.
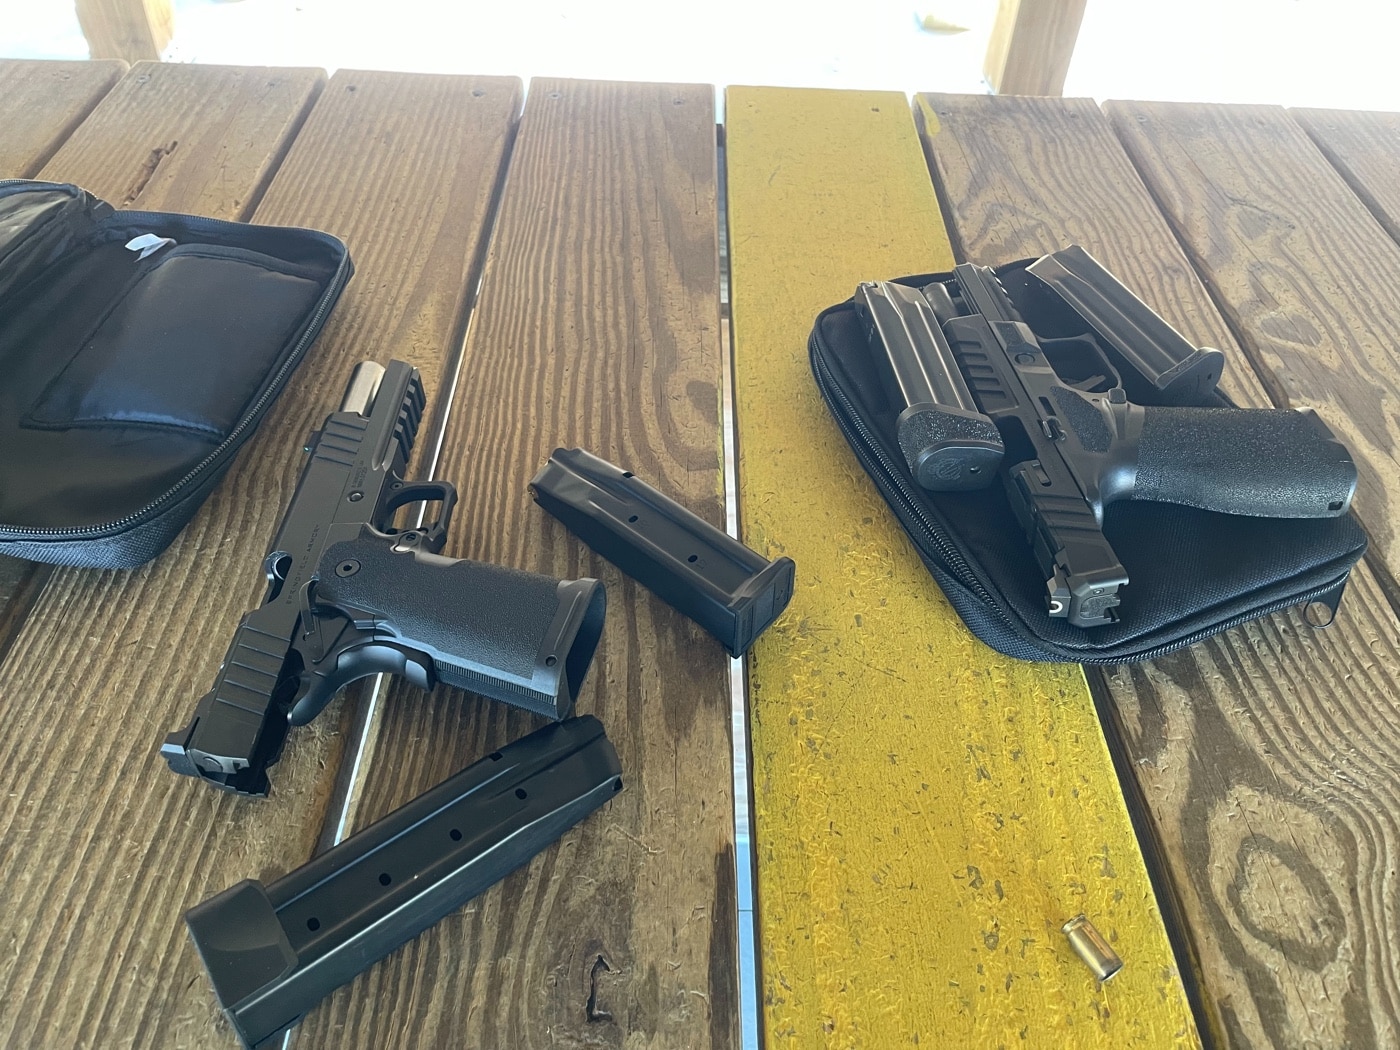
This drill builds muscle memory for reloads, which will become smoother and faster, plus it forces you to shoot accurately under the stress of a reload. As you become more proficient, move the target out to 10, 15 or 25 yards. I usually start with this drill as a warm-up.
Drill #2: Dot Torture Drill
This is the drill to perform when you want to focus on trigger control. It also forces you to remember to shoot a specific number of rounds on specific dots. You can find Dot Torture Drill targets online and print them out on an 8.5”x11” sheet of paper and a box of 50 rounds. Start at three yards, which is probably the closest the range will allow. There are 10 2” dots on the target, and they are numbered.
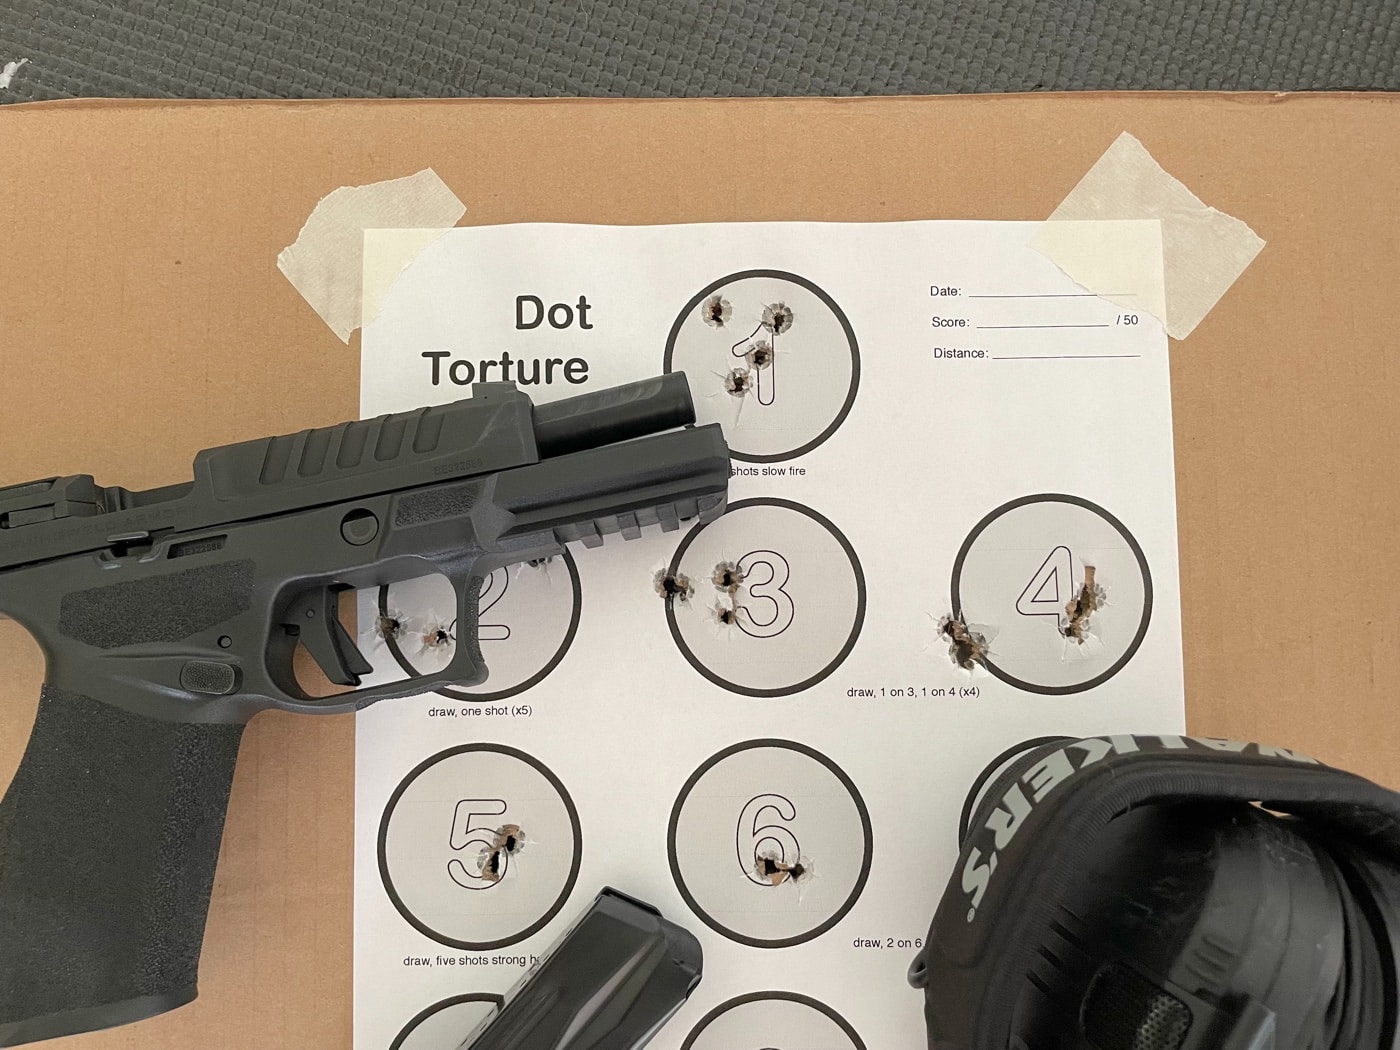
Start at low ready. This is the course of fire:
Dot 1: From low ready, fire five rounds.
Dot 2: From low ready, fire one round, return to low ready and fire one round. Repeat for five rounds.
Dots 3 and 4: From low ready, fire one round on dot 3 and one round on dot 4, then return to low ready and repeat for a total of eight rounds.
Dot 5: From low ready, fire five rounds on dot 5, strong-hand-only.
Dots 6 and 7: From low ready, fire two rounds on dot 6 and two rounds on dot 7, then return to low ready and repeat for a total of 16 rounds.
Dot 8: From low ready, fire five rounds on dot 8 with support hand only.
Dots 9 and 10: From low ready, fire one round on dot 9. Perform a tactical reload, and fire one round on dot 10, then return to low ready. Repeat for a total of six rounds.
A passing score is all clean hits inside the circle. This is a pass/,fail drill. Yes it is torture, but torture you will learn to love. Pros score this drill with all hits inside the circle. If you are just starting out and some of your hits touch the outer edge of the circle, count it is a clean hit and try better next time.
Drill #3: Baer Solutions Standards Drill
This drill was developed by Baer Solutions and is easily drawn or printed on 8.5”x11” paper. The target consists of two 6”x3.5” rectangles on either side of a 2” circle. Set the target at five yards, and load 10 rounds in one magazine, three rounds in a second magazine, and 10 in a third magazine. If you don’t have three magazines, don’t sweat it. Just use two.
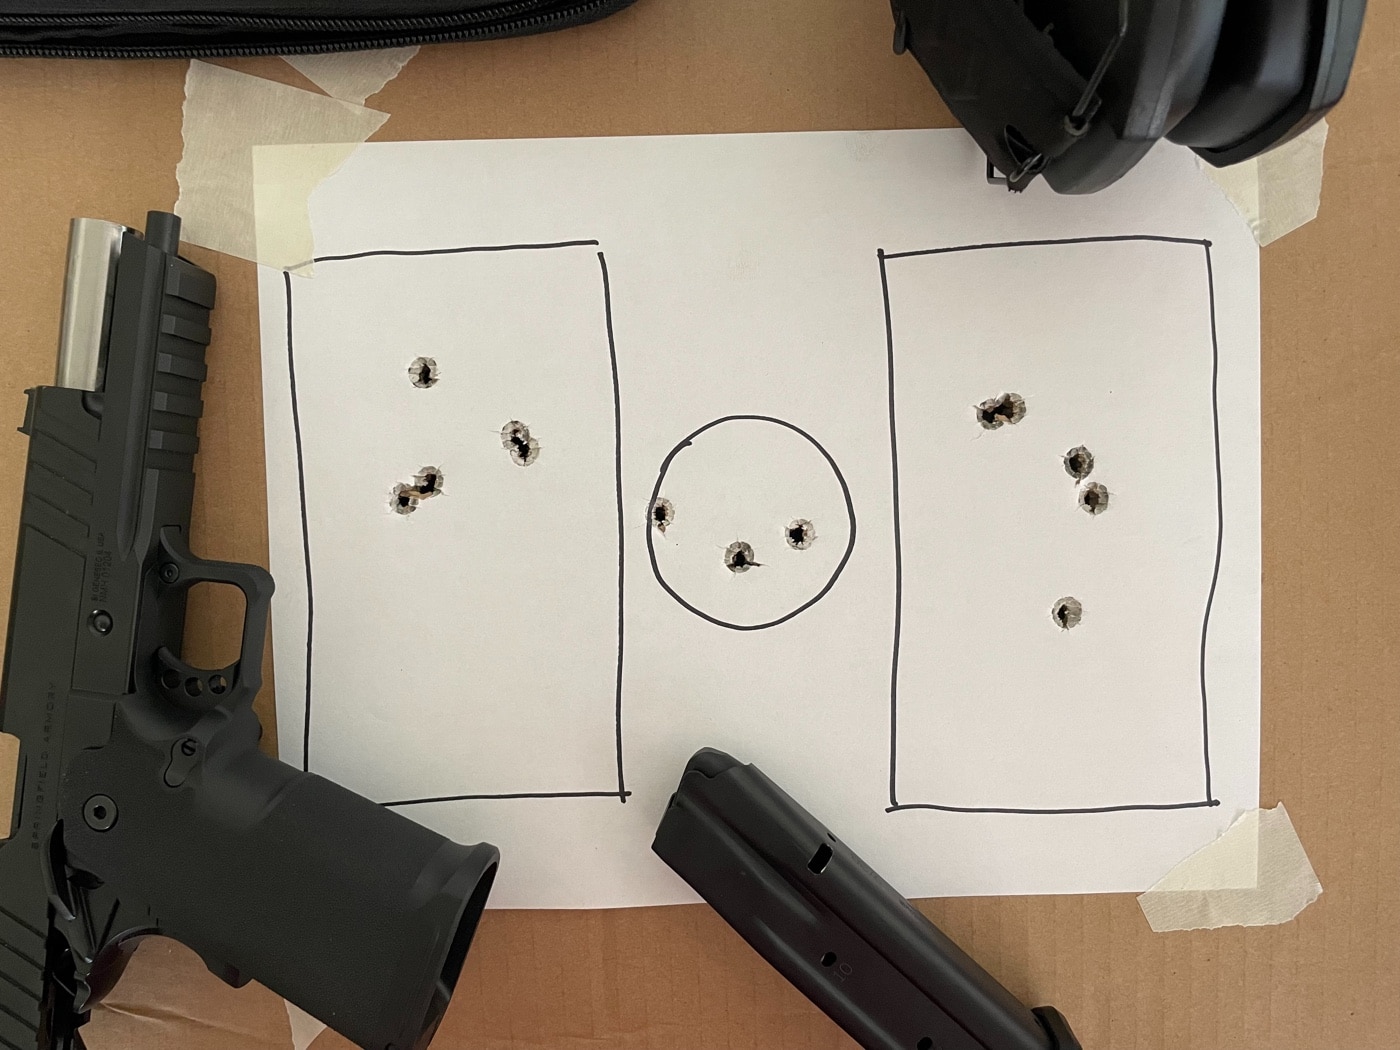
From low ready, quickly engage the left rectangle with five rounds, then transition to the right rectangle with another five rounds. Perform a reload and shoot the circle with three rounds. This drill balances speed and accuracy while shooting for speed on the rectangles and slowing it down for surgical accuracy on the circle.
A passing score is all clean hits under 9 seconds. You won’t have a timer at a public range to clock your time, but that is okay. The drill forces you to concentrate on the basics. As you perform this drill, your speed will increase. Remember, it is accuracy before speed.
Train to Be Prepared
Punching holes in paper can be turned into genuine training, even within the constraints of a public range. Practice with purpose and, as you get more proficient, push yourself and place the targets at farther distances. Don’t be complacent; push the envelope on your skills.
Editor’s Note: Please be sure to check out The Armory Life Forum, where you can comment about our daily articles, as well as just talk guns and gear. Click the “Go To Forum Thread” link below to jump in!
Join the Discussion
Featured in this article
Read the full article here


